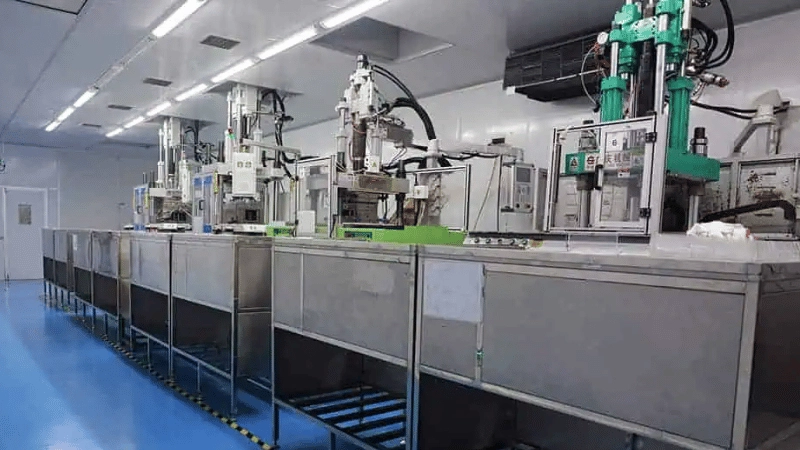
What is Rubber Molding?
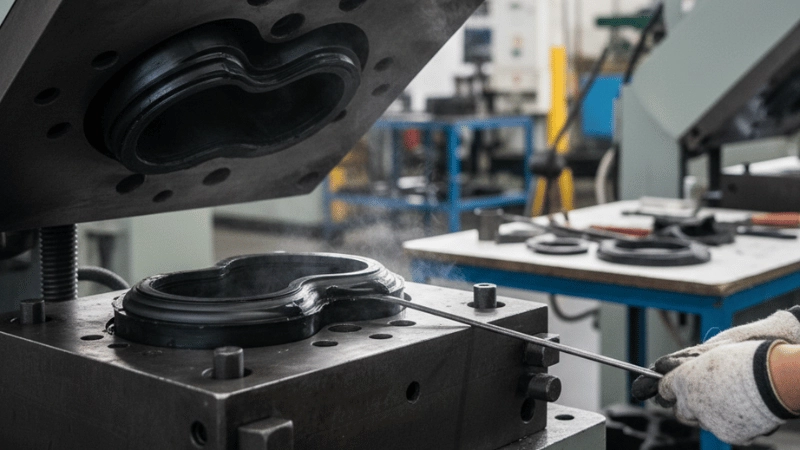
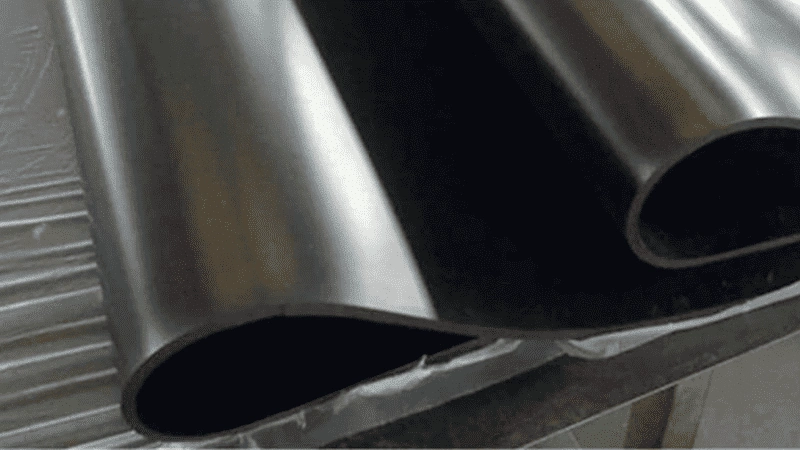
Rubber molding is a manufacturing process that transforms uncured raw rubber material into a functional product by injecting, compressing, or transferring the rubber into a robust metal mold.
Aluminum and steel molds are the industry standard for rubber molding. Once the raw rubber enters the mold, heat is applied to cure the rubber in a process called vulcanization. The resistance to high temperatures makes steel and aluminum particularly useful in this process step.
On the raw rubber material side, you can use natural or synthetic rubber. Using various formulations, the material properties of the raw rubber can be enhanced to match the application requirements better.
Example:
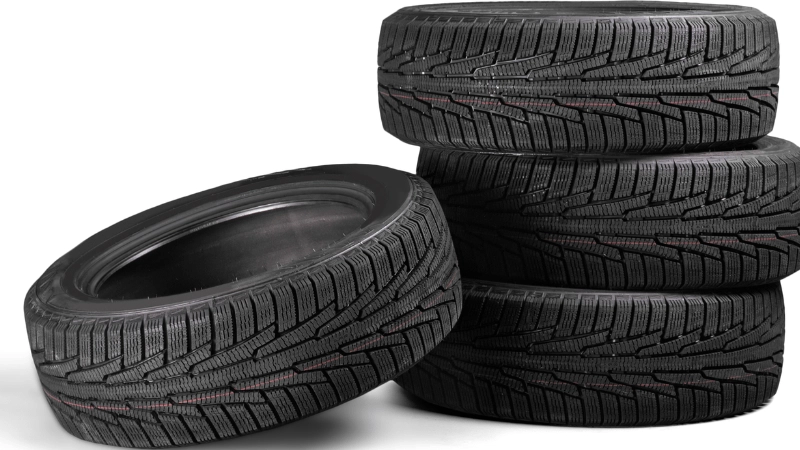
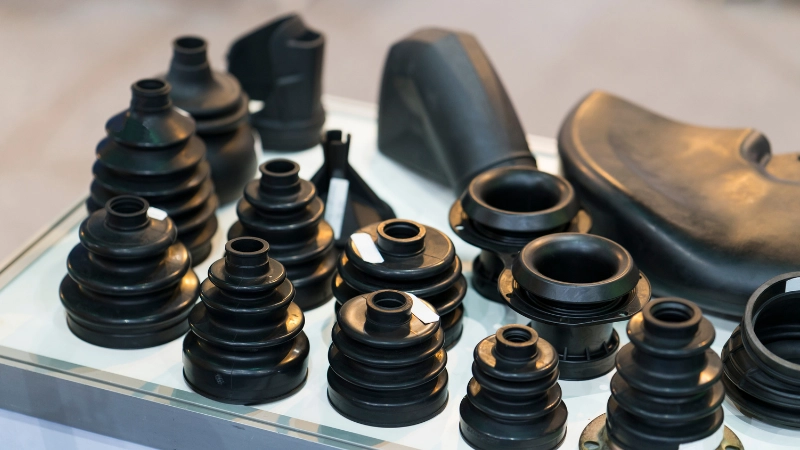
The automotive manufacturing industry is increasing with rubber-molded products. Tires are the most common example of molded rubber.
Additionally, the interior of a modern-day car is filled with small rubber molded parts. Everything from gaskets and seals to rubber feet and mud flaps is made using rubber molding techniques.
What is Mold Flashing?
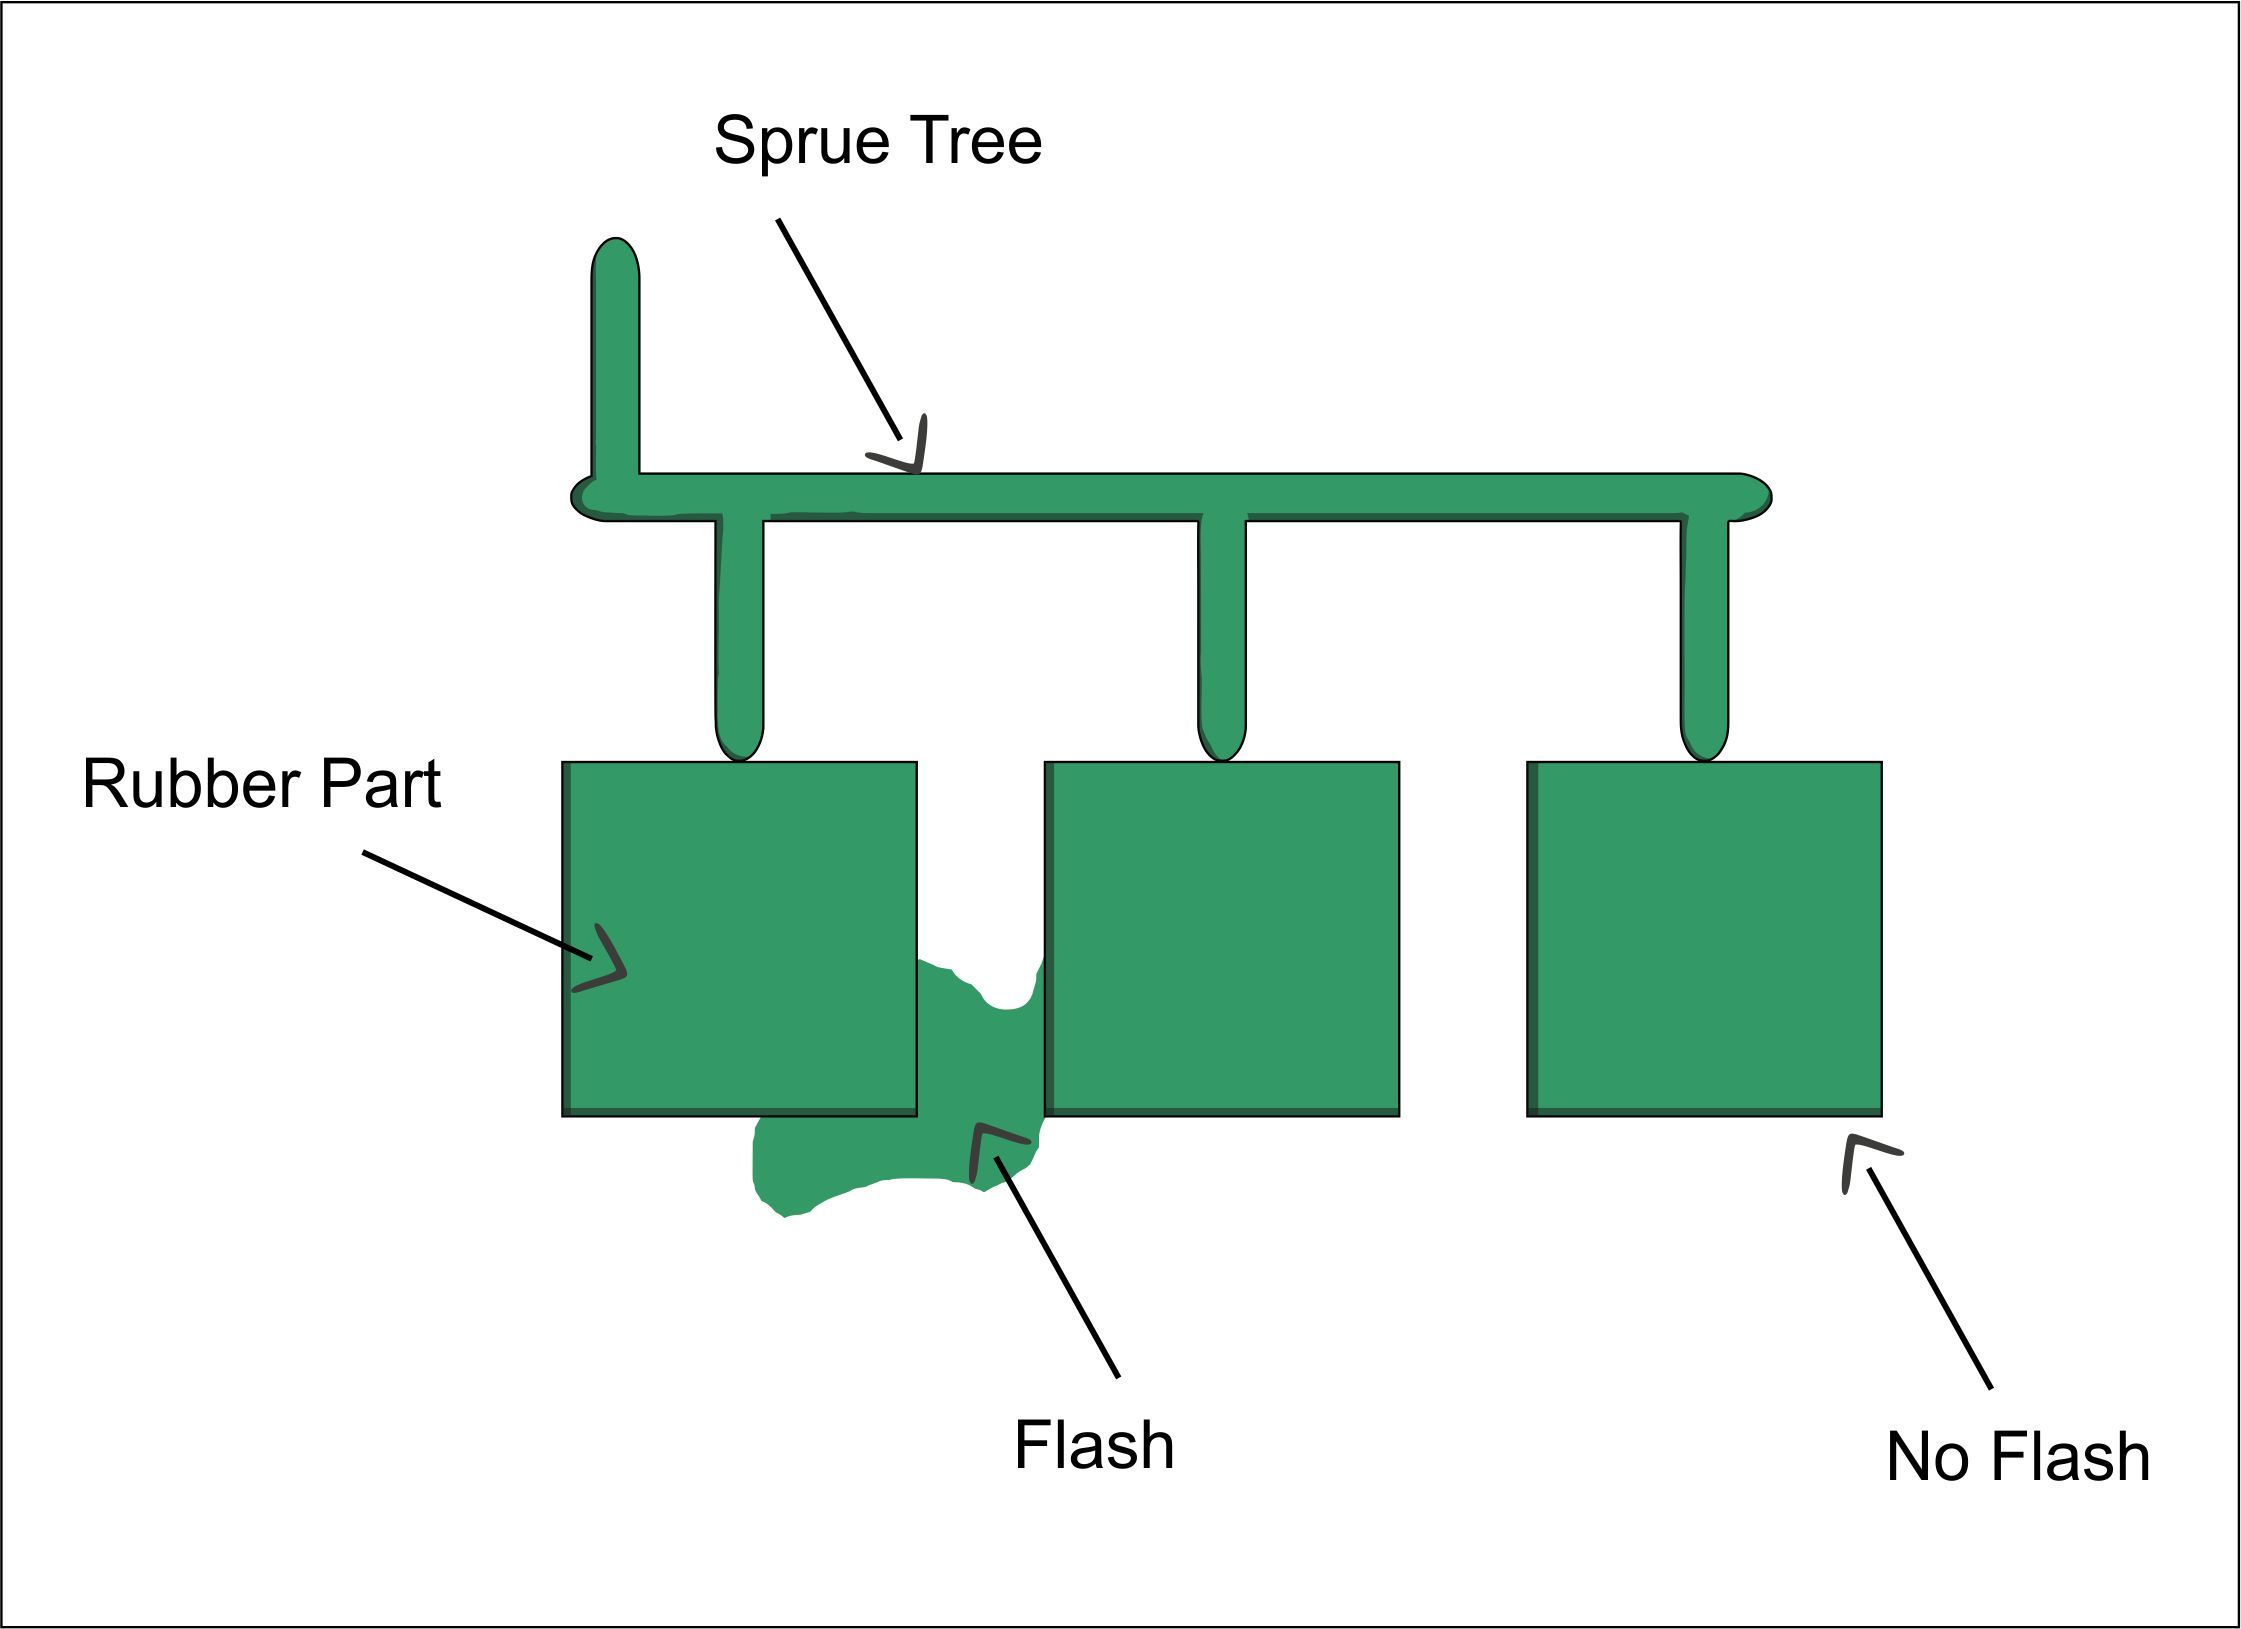
A mold flash (also known as flashing) is a material leakage from the mold, resulting in a thin film of material attached to the edges of a part. Mold flashing can result from small gaps between the two halves of the mold, leading to a material leak.
Flashing can usually be removed from the part during post-processing. This phenomenon isn’t limited to molded rubber products and also occurs in the forging and casting processes.
Flash is also not limited to one type of material; rubber, plastics, and metal materials are all susceptible to flashing.
Why is Rubber Molding Important?
Rubber serves a vital role in the manufacturing sector. Many everyday-use machines and devices use either synthetic or natural rubber parts. Rubber molding allows you the versatility to transform raw rubber into any shape necessary.
Molding rubber is a quick and cost-effective method of mass-producing small to medium-sized parts.
A bonus of the molding process is that it is very environmentally friendly. Rubber molding uses accurately measured raw materials to produce the desired part with minimum waste.
Molding is also an exact manufacturing method, resulting in uniform products and consistent quality.
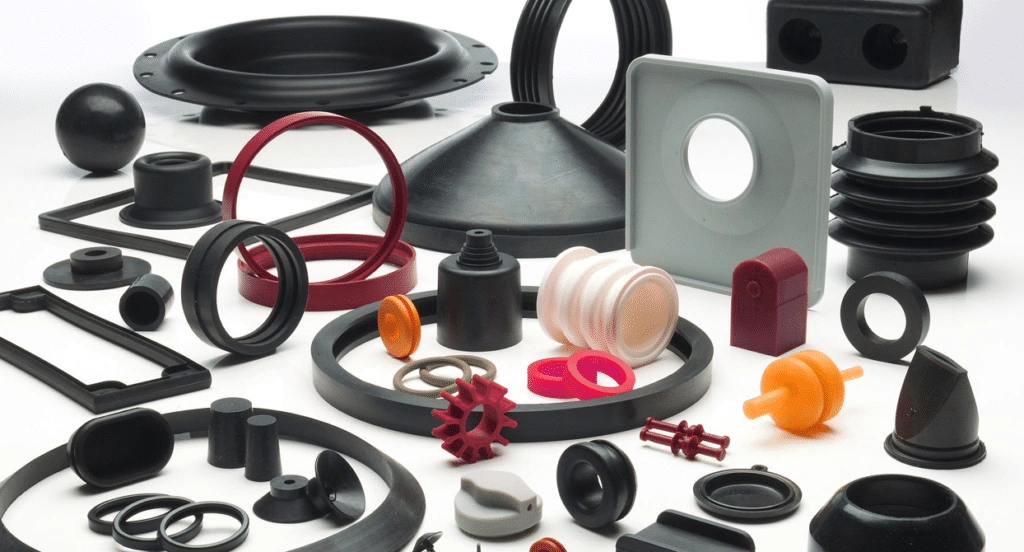
Industries Served by Rubber Molding
Rubber is a unique material that can be tough, sturdy, soft, and elastic. Additionally, rubber molding allows for limitless customization and design options. So it is no surprise that almost every industry under the sun uses rubber components and parts.
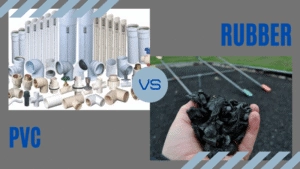
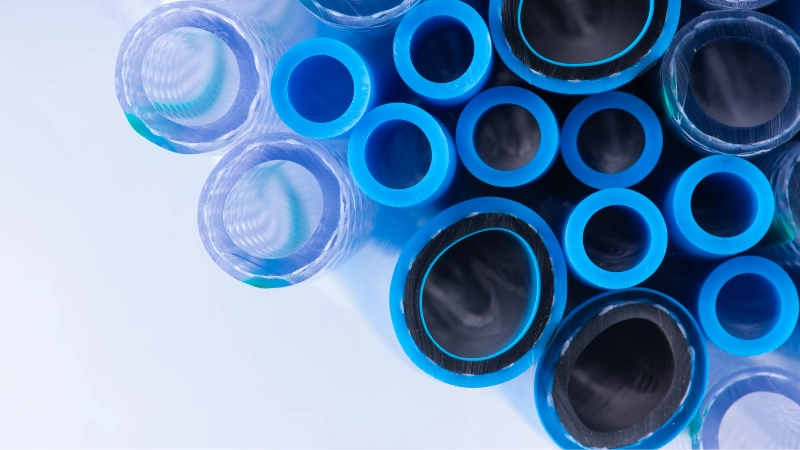
Engineering-related fields like aerospace rely on the elasticity of molded rubber products for seals and gaskets. In contrast, the plumbing industry prefers rubber for its water resistance and tightness.
Finally, the electronics industry fully uses rubber’s elasticity, water tightness, and insulating properties.
Here is a simple breakdown of several manufacturing industries that use rubber molding. And a few examples of their primary desired rubber property and everyday commercial products.
| Industry | Desired Property | Rubber Products |
| Automotive | Heat resistance, oil resistance | Gaskets, seals, hoses |
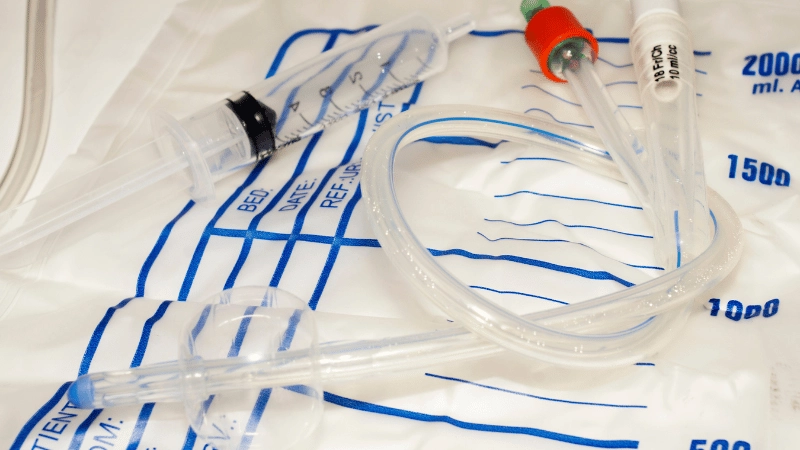
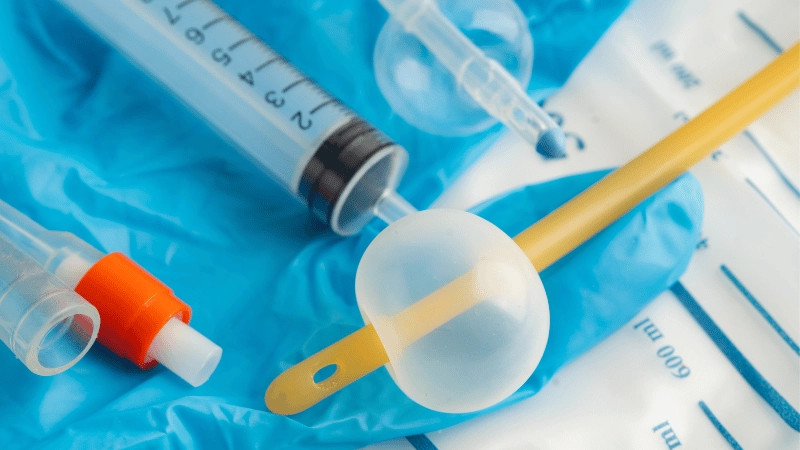
| Medical | Biocompatibility, sterility | Syringe pistons, catheters, stoppers |
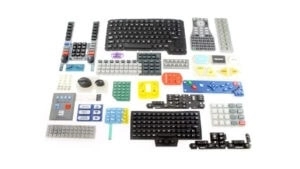
| Electronics | Electrical insulation, vibration damping | Keypads, connectors, grommets |
| Construction | Weather resistance, aging resistance | Expansion joints, waterproof membranes |
| Consumer Goods | Durability, flexibility | Footwear soles, rubber gloves, toys |
| Industrial | Abrasion resistance, chemical resistance | Conveyor belts, rollers, seals |
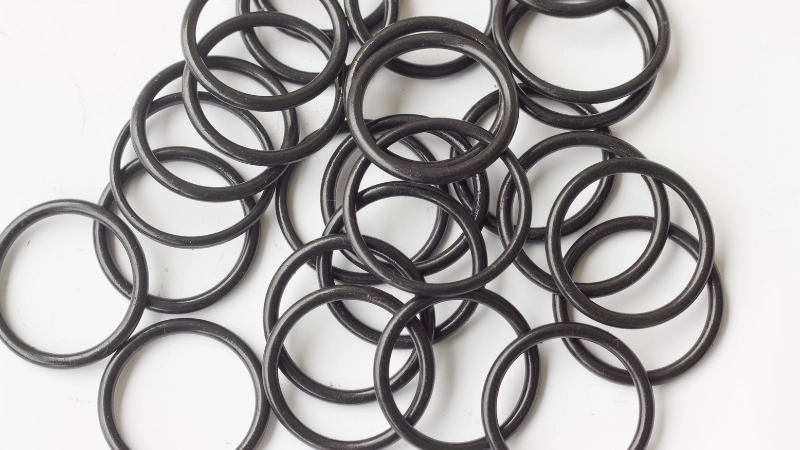
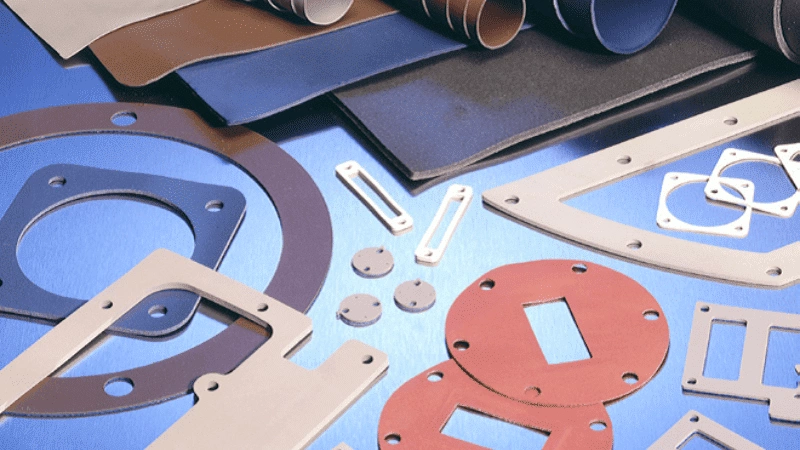
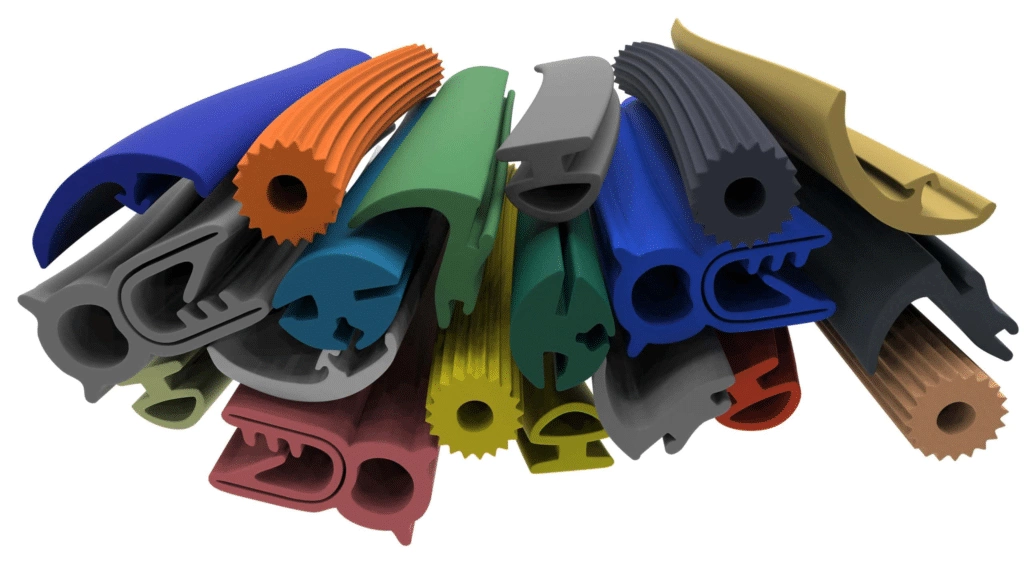
Rubber molding is an incredibly versatile process, able to produce products for every industry. Almost every sector takes advantage of rubber gaskets and seals. As rubber products are air- and water-tight, they can be deployed in harsh and humid environments without fear of degradation.
Rubber molding allows these gaskets and seals to take any shape and form. Compression molding is generally used for gaskets, but you can also use injection and transfer molding for more complex designs.
Types of Rubber Molding Methods
As discussed previously, rubber molding can be divided into three types: injection, compression, and transfer.
Here is a detailed explanation of each molding technique, an in-depth breakdown of the process, and its advantages.
Compression Molding
Rubber compression molding applies a high compressive force to a preform and pushes it into a mold. A pre-form is an uncured raw material given roughly the same shape as the final product.
Using pre-forms increases the overall efficiency of the rubber molding process and decreases material waste.
Compression molding is not suited for more complex rubber compounds. You would require an unfeasible force to compress a harder rubber into the mold. Even with the benefits of using pre-forms, compression molding is still limited to medium-hardness rubber stocks.


Molding Process
Following is a step-by-step breakdown of the compression molding process for rubber materials.
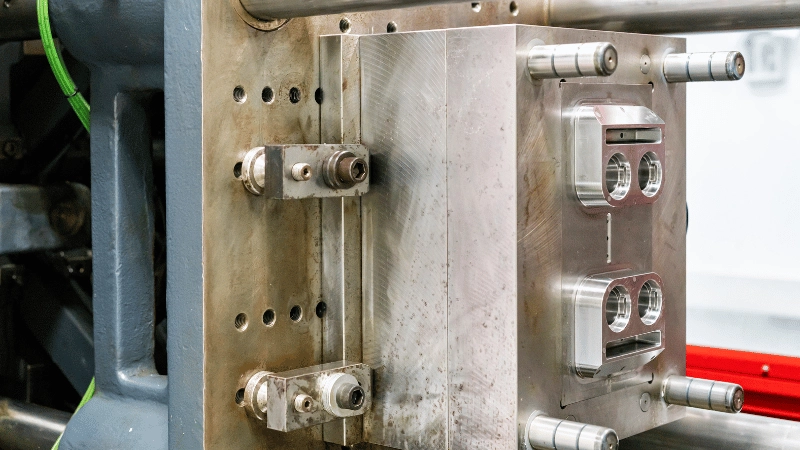
Step 1: Design and fabrication of the two-part metal mold. This process is generally done by CNC machining or casting.
Step 2: Shaping the pre-forms. Take the raw rubber stock and rough cut it to match the shape of the end product.
Step 3: Place the pre-forms directly on top of the bottom plate of the mold.
Step 4: Closing the molding and applying compressive force and heat to the pre-forms.
Step 5: Heating melts the pre-forms and forces them to conform to the mold shape. The excess material goes into the overflow grooves.
Step 6: Curing the rubber inside the mold. Heat is continually applied to the mold to hit the vulcanization temperature. Curing time is dependent on material properties. The standard curing time is less than 5 minutes.
Step 7: Unlatching the mold and ejecting the rubber product from the mold cavity.
Step 8: Removal of supports, overflow groves, and other excess material.
Step 9: Post-processing of the final product. Trimming the edges and de-flashing using nitrogen.
Advantages
- Rubber compression molding has low tooling costs.
- This process is very cost-efficient for medium-precision products.
- A shorter setup time results in a better affinity for low-volume productions.
- The process results in a low amount of material waste.
- Compression molding is compatible with stiffer (more rigid) latex materials.
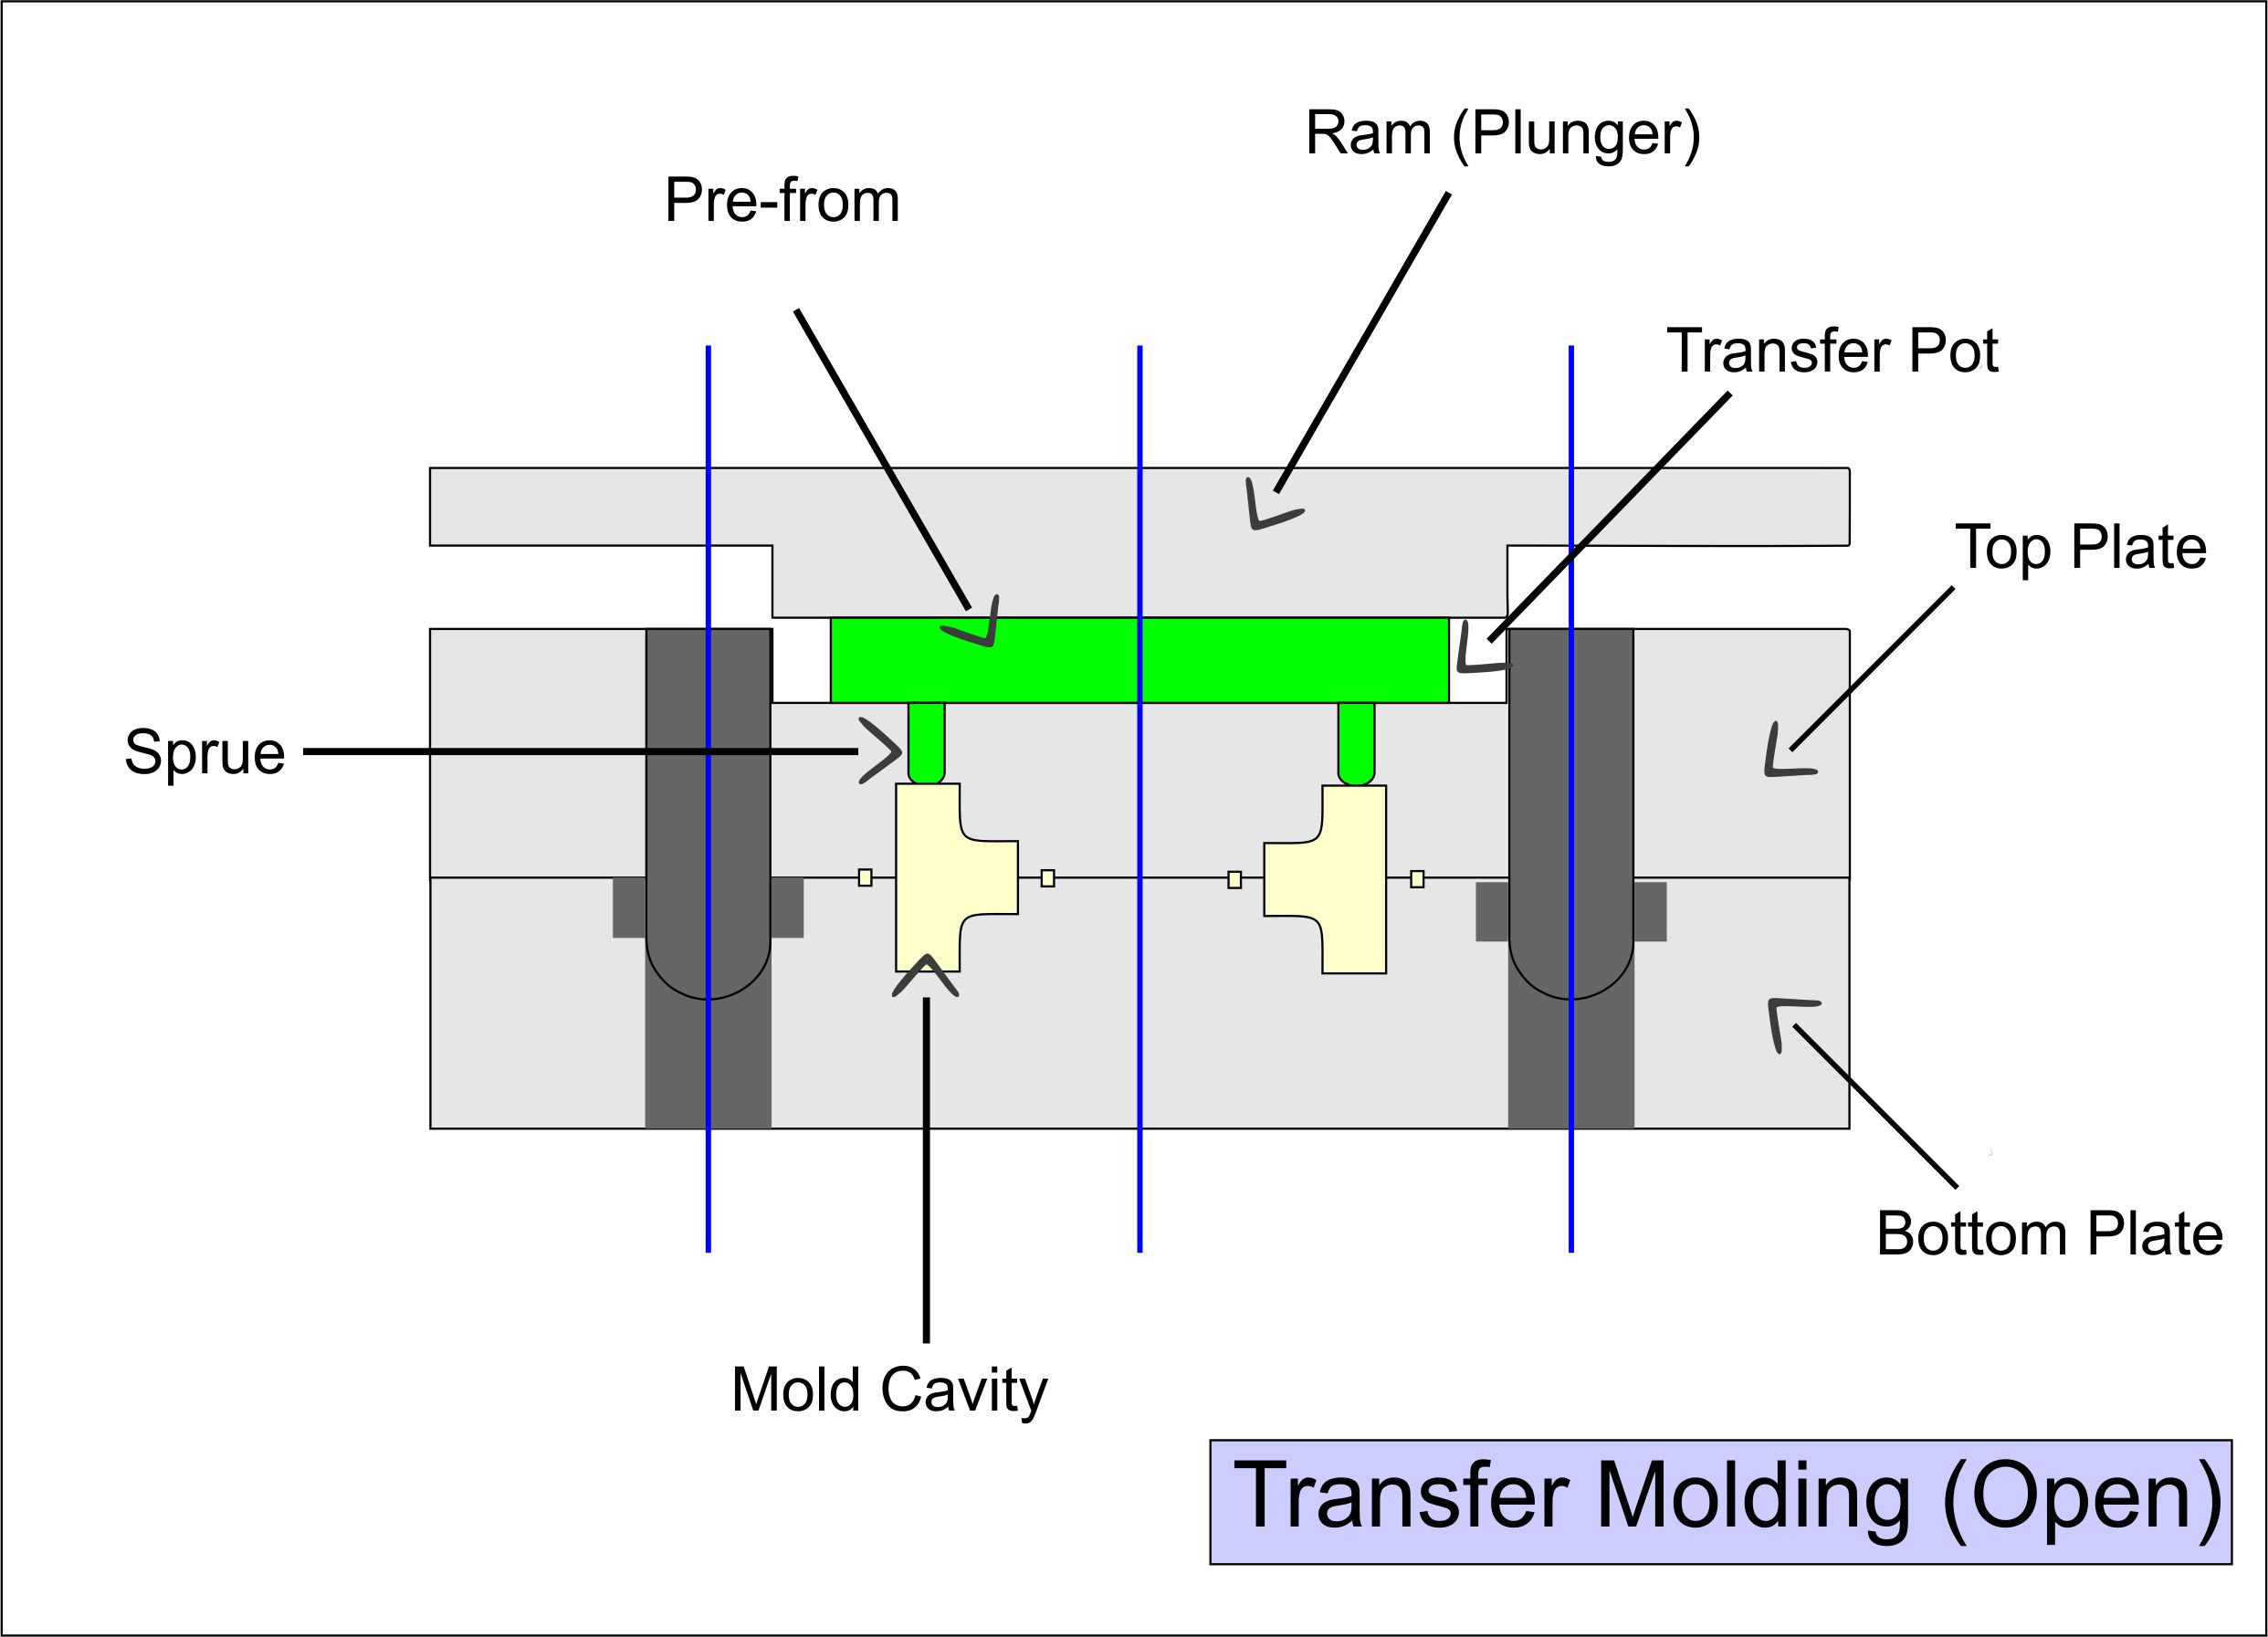
Transfer Molding
Rubber transfer molding is a similar process to compression molding. The key difference here is the placement of the uncured pre-form. The preform is placed directly above the mold in compression molding and pressed into the desired shape first.
The pre-form is placed in a separate transfer pot above the top plate and below the plunger. Upon compression, the pre-form is transferred from the pot to the mold through the sprue (channel) in the top plate.

Molding Process
Following is a step-by-step breakdown of the transfer molding process for rubber molding materials.
Step 1: Design and fabrication of a three-part metal mold. This process utilizes a third mold layer, called the ram, which houses the transfer pot.
Step 2: Using the raw rubber stock to create pre-forms for the mold. Unlike compression molding, these pre-forms need not be rough cut to the final shape.
Step 3: Placing the pre-form into the transfer pot. The transfer pot sits between the mold’s top and ram layers.
Step 4: Closing the mold tightly and applying a compressive force to the ram (plunger).
Step 5: The pre-form is compressed and transferred from the pot to the mold cavities through sprue channels in the top layer.
Step 6: Consistent heating of the mold results in vulcanization occurring.
Step 7: Rubber curing takes place inside the mold cavities for a short period. Curing temperature and time are material-dependent, but curing is generally done in under 5 minutes.
Step 8: Unlatching the mold layers and ejecting the rubber product from the mold cavities.
Step 9: Removal of excess material attached to the final rubber part. This includes sprue joints, tear trim beads, etc.
Step 10: Post-processing of the final rubber product. This includes general trimming, clean-up, and de-flashing.

Advantages
- Transfer molding has low tooling costs.
- This process is very cost-efficient for medium to high-precision products.
- A fast setup process results in a better affinity for low-volume productions.
- Transfer molding has better dimensional tolerances than compression molding.
- Transfer molding can use one pre-form to fill several cavities in the mold.
- This process is also compatible with over-molding.
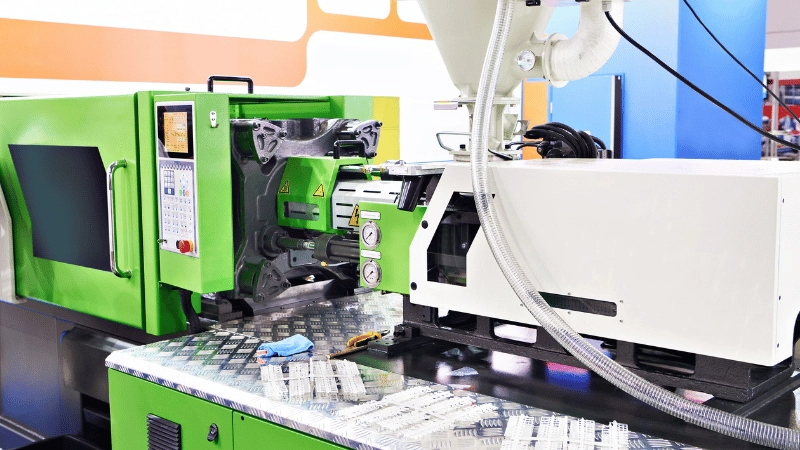
Injection Molding
Rubber injection molding uses high heat and pressure to inject the raw rubber material into the mold through a narrow nozzle. Once inside the heated metal mold, the high temperatures result in vulcanization, a rubber-curing (hardening) process.
Unlike plastic injection molding, rubber molding uses much higher temperatures and pressure to inject the material into the mold. Rubber injection molding also benefits from the decades of innovations and optimizations refined in plastic injection molding.
Note: LIM is a slight modification to the injection molding process, but we decided to explain it in a separate section for easier understanding.
Molding Process
Following is a step-by-step breakdown of the injection molding process for rubber.
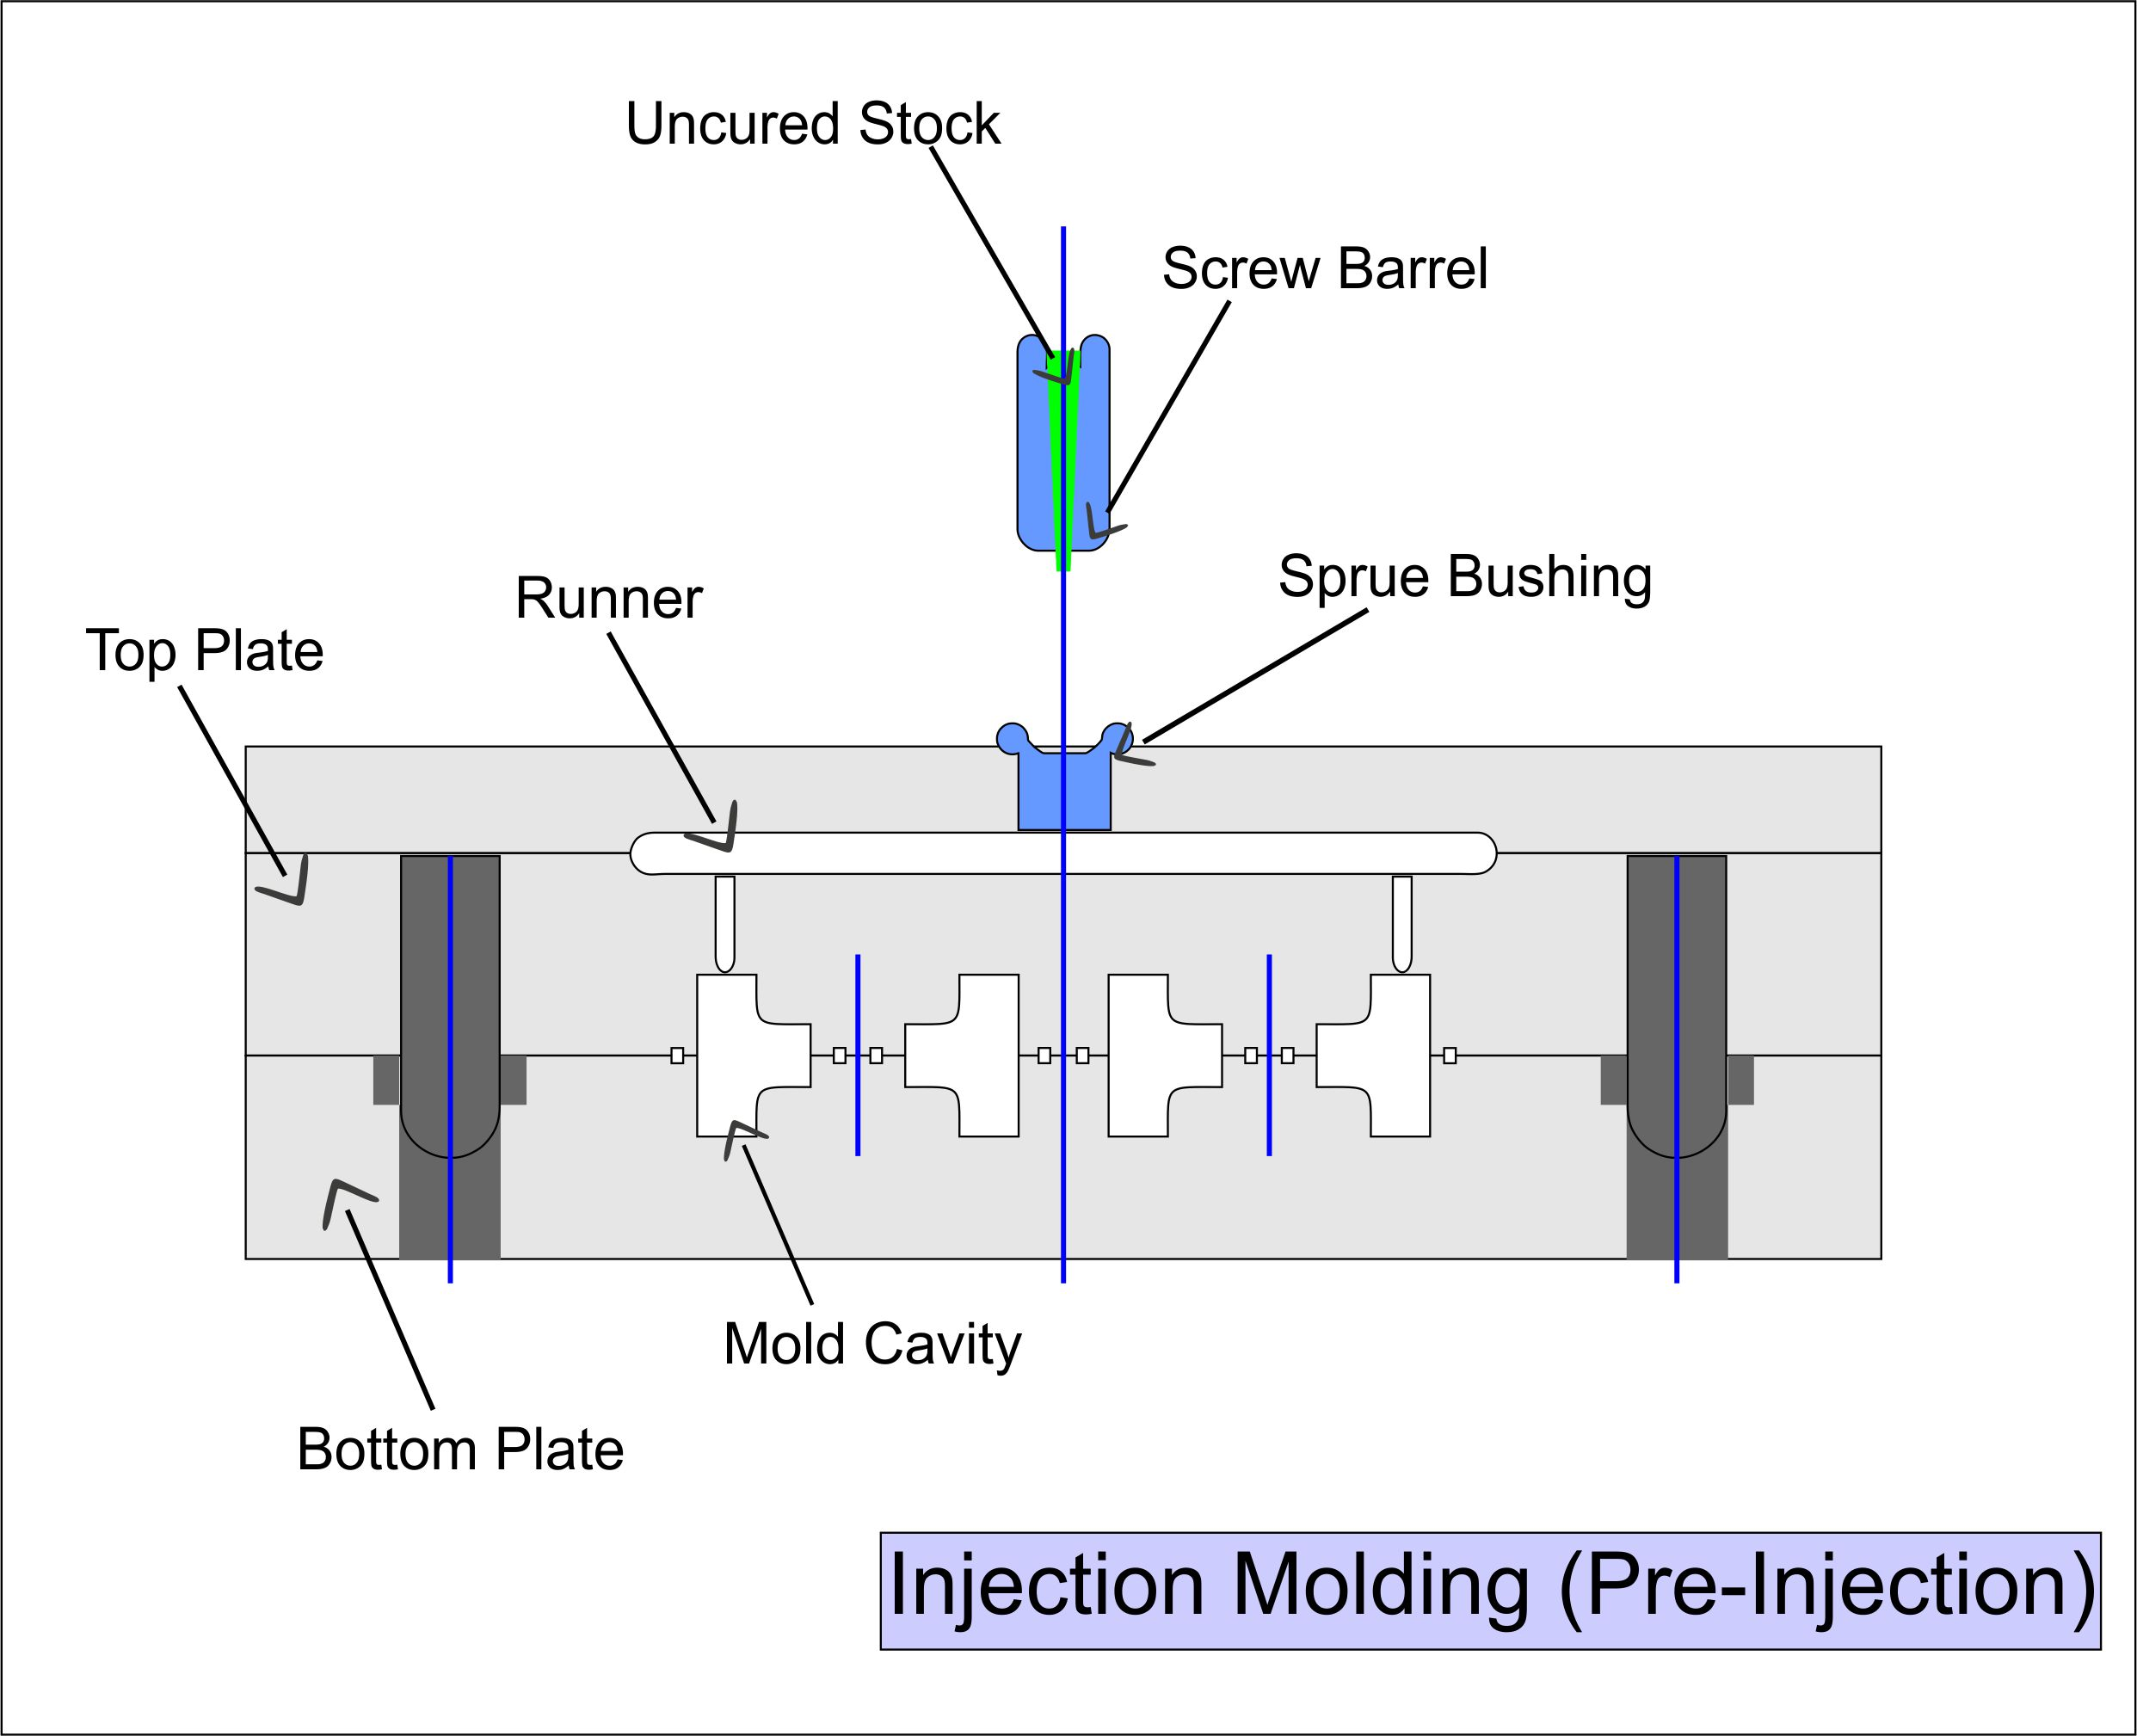
Step 1: Design and fabrication of a three-part metal mold. Mold must withstand significantly high injection pressure during molding operations.
Step 2: This process also utilizes a third mold layer. However, unlike transfer molding, the third layer here is stationary and used for housing the runner.
Step 3: Introduction of the rubber stock into the screw barrel. Here the raw rubber is melted and forced into the runner.
Step 4: Injection of molten rubber into mold cavities through sprue channels in the top plate.
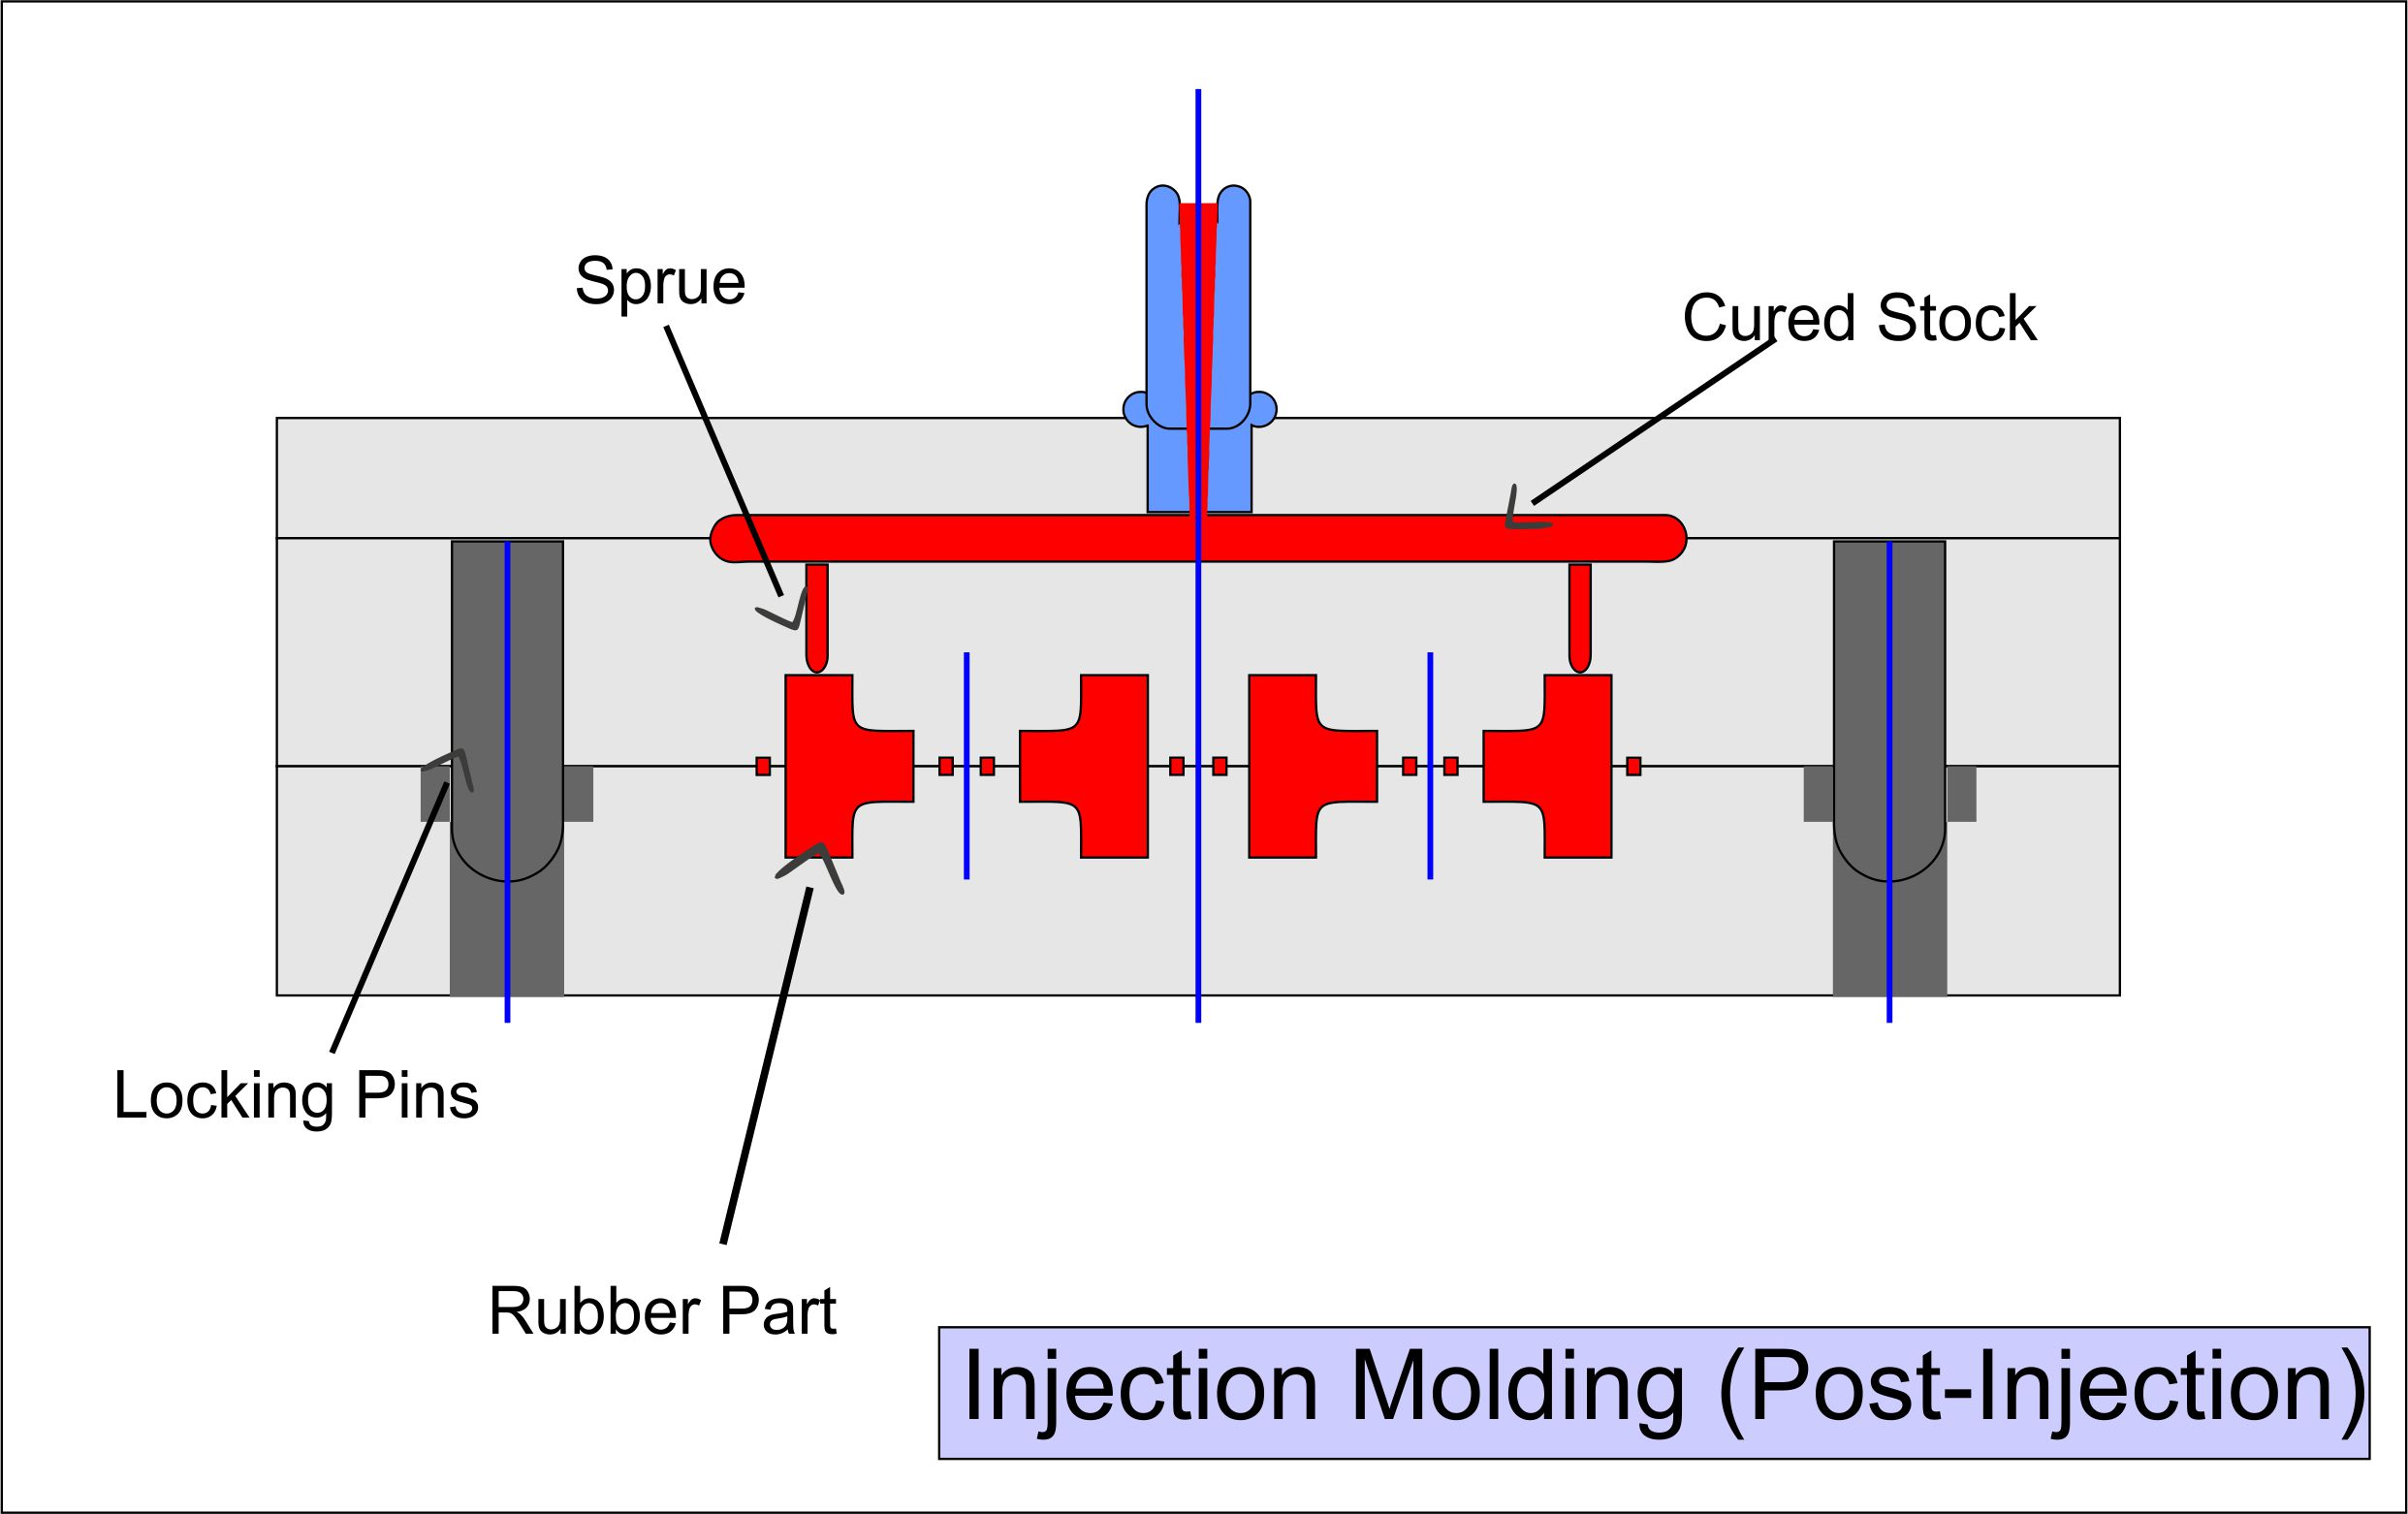
Step 5: Vulcanization (curing) occurs inside the mold cavities due to high pressures and temperatures.
Step 6: Curing takes place over a short period, usually under 5 mins. Curing time and temperature are determined by the composition of the raw rubber stock.
Step 7: Unlatching the mold and removing the cured final product from the mold cavities.
Step 8: Removing excess material, like sprue channels and tear trim beads, attached to the end product.
Step 9: Post-processing of the final product, including trimming, cleaning, and de-flashing.
Advantages
- Very cost-effectively for mass-production parts.
- This process can also be used for the over-molding of parts.
- Injection-molded rubber products result in very small to zero amounts of flash.
- There is a minimum waste of material.
- You do not need pre-forms in this molding process.
- You can easily automate the preparation and injection process.
- This method requires less operator oversight.
- This process also allows for better dimensional tolerances.
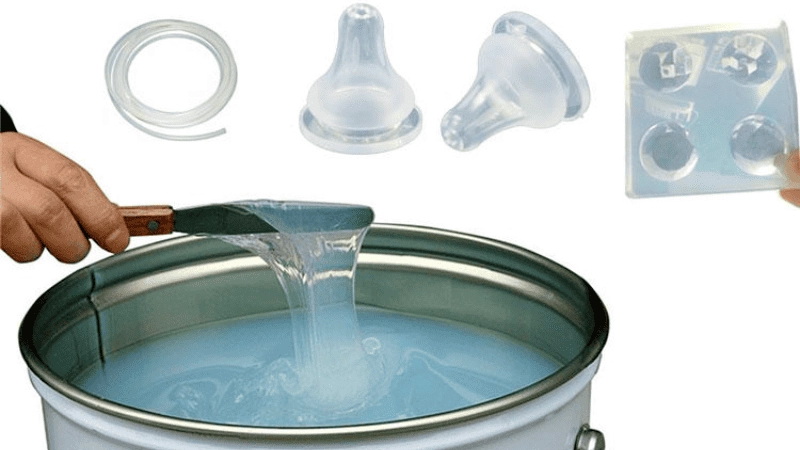
Liquid Injection Molding (LIM)
Rubber injection molding is compatible with both solid and liquid rubber stock. Liquid injection molding is a slight variation of the classic molding process.
It is the same as regular injection molding, except it uses a liquid uncured rubber raw material as stock. The liquid rubber material is present in the form of a two-part mixture, which is combined and cooled before the injection phase.
Afterward, the liquid base enters the injector, similar material flow to the regular injection process, and is heated in the mold to initiate vulcanization.
Molding Process
Following is a step-by-step breakdown of the rubber (latex) materials’ liquid injection molding (LIM) process.
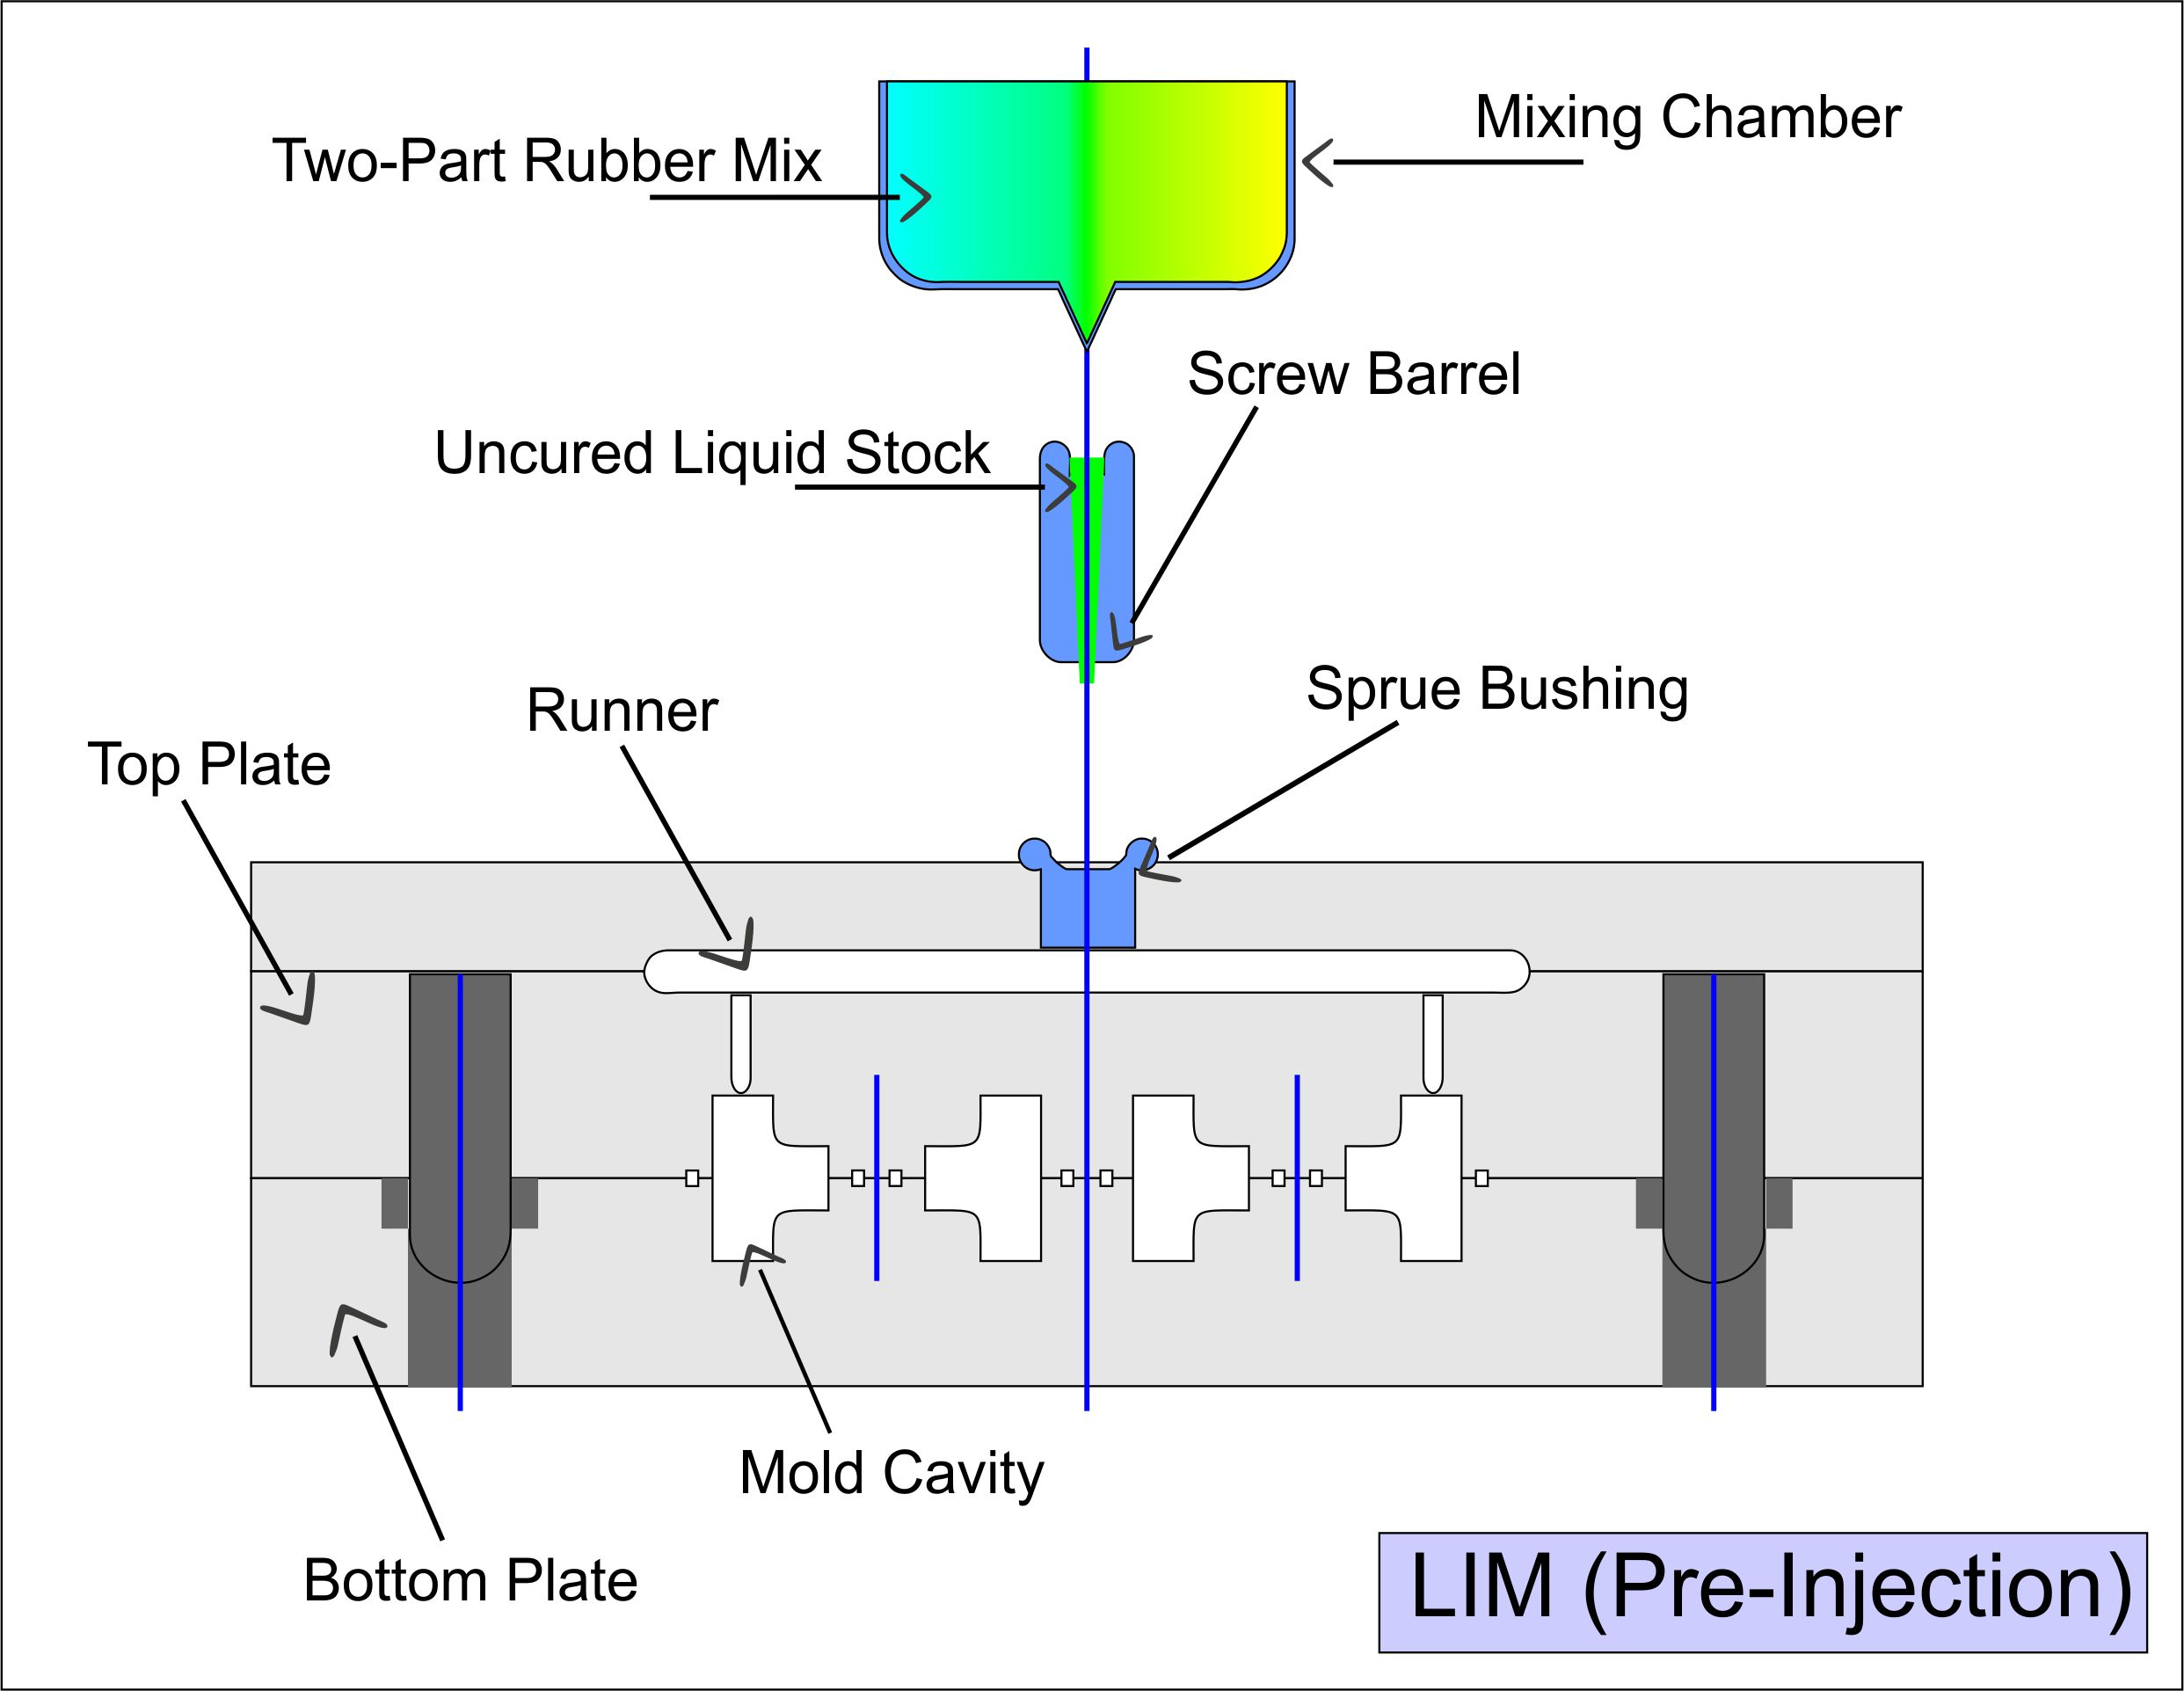
Step 1: Design and fabrication of a three-part metal mold. Mold layers include the runner plate, top plate, and bottom plate. Mold must withstand high injection pressure during molding operations.
Step 2: Mixing and cooling of the two-part liquid silicone compound. LIM has an additional mixing and metering unit mounted above the injection barrel.
Step 3: Closing the mold and introducing the mixed liquid rubber stock into the injection barrel.
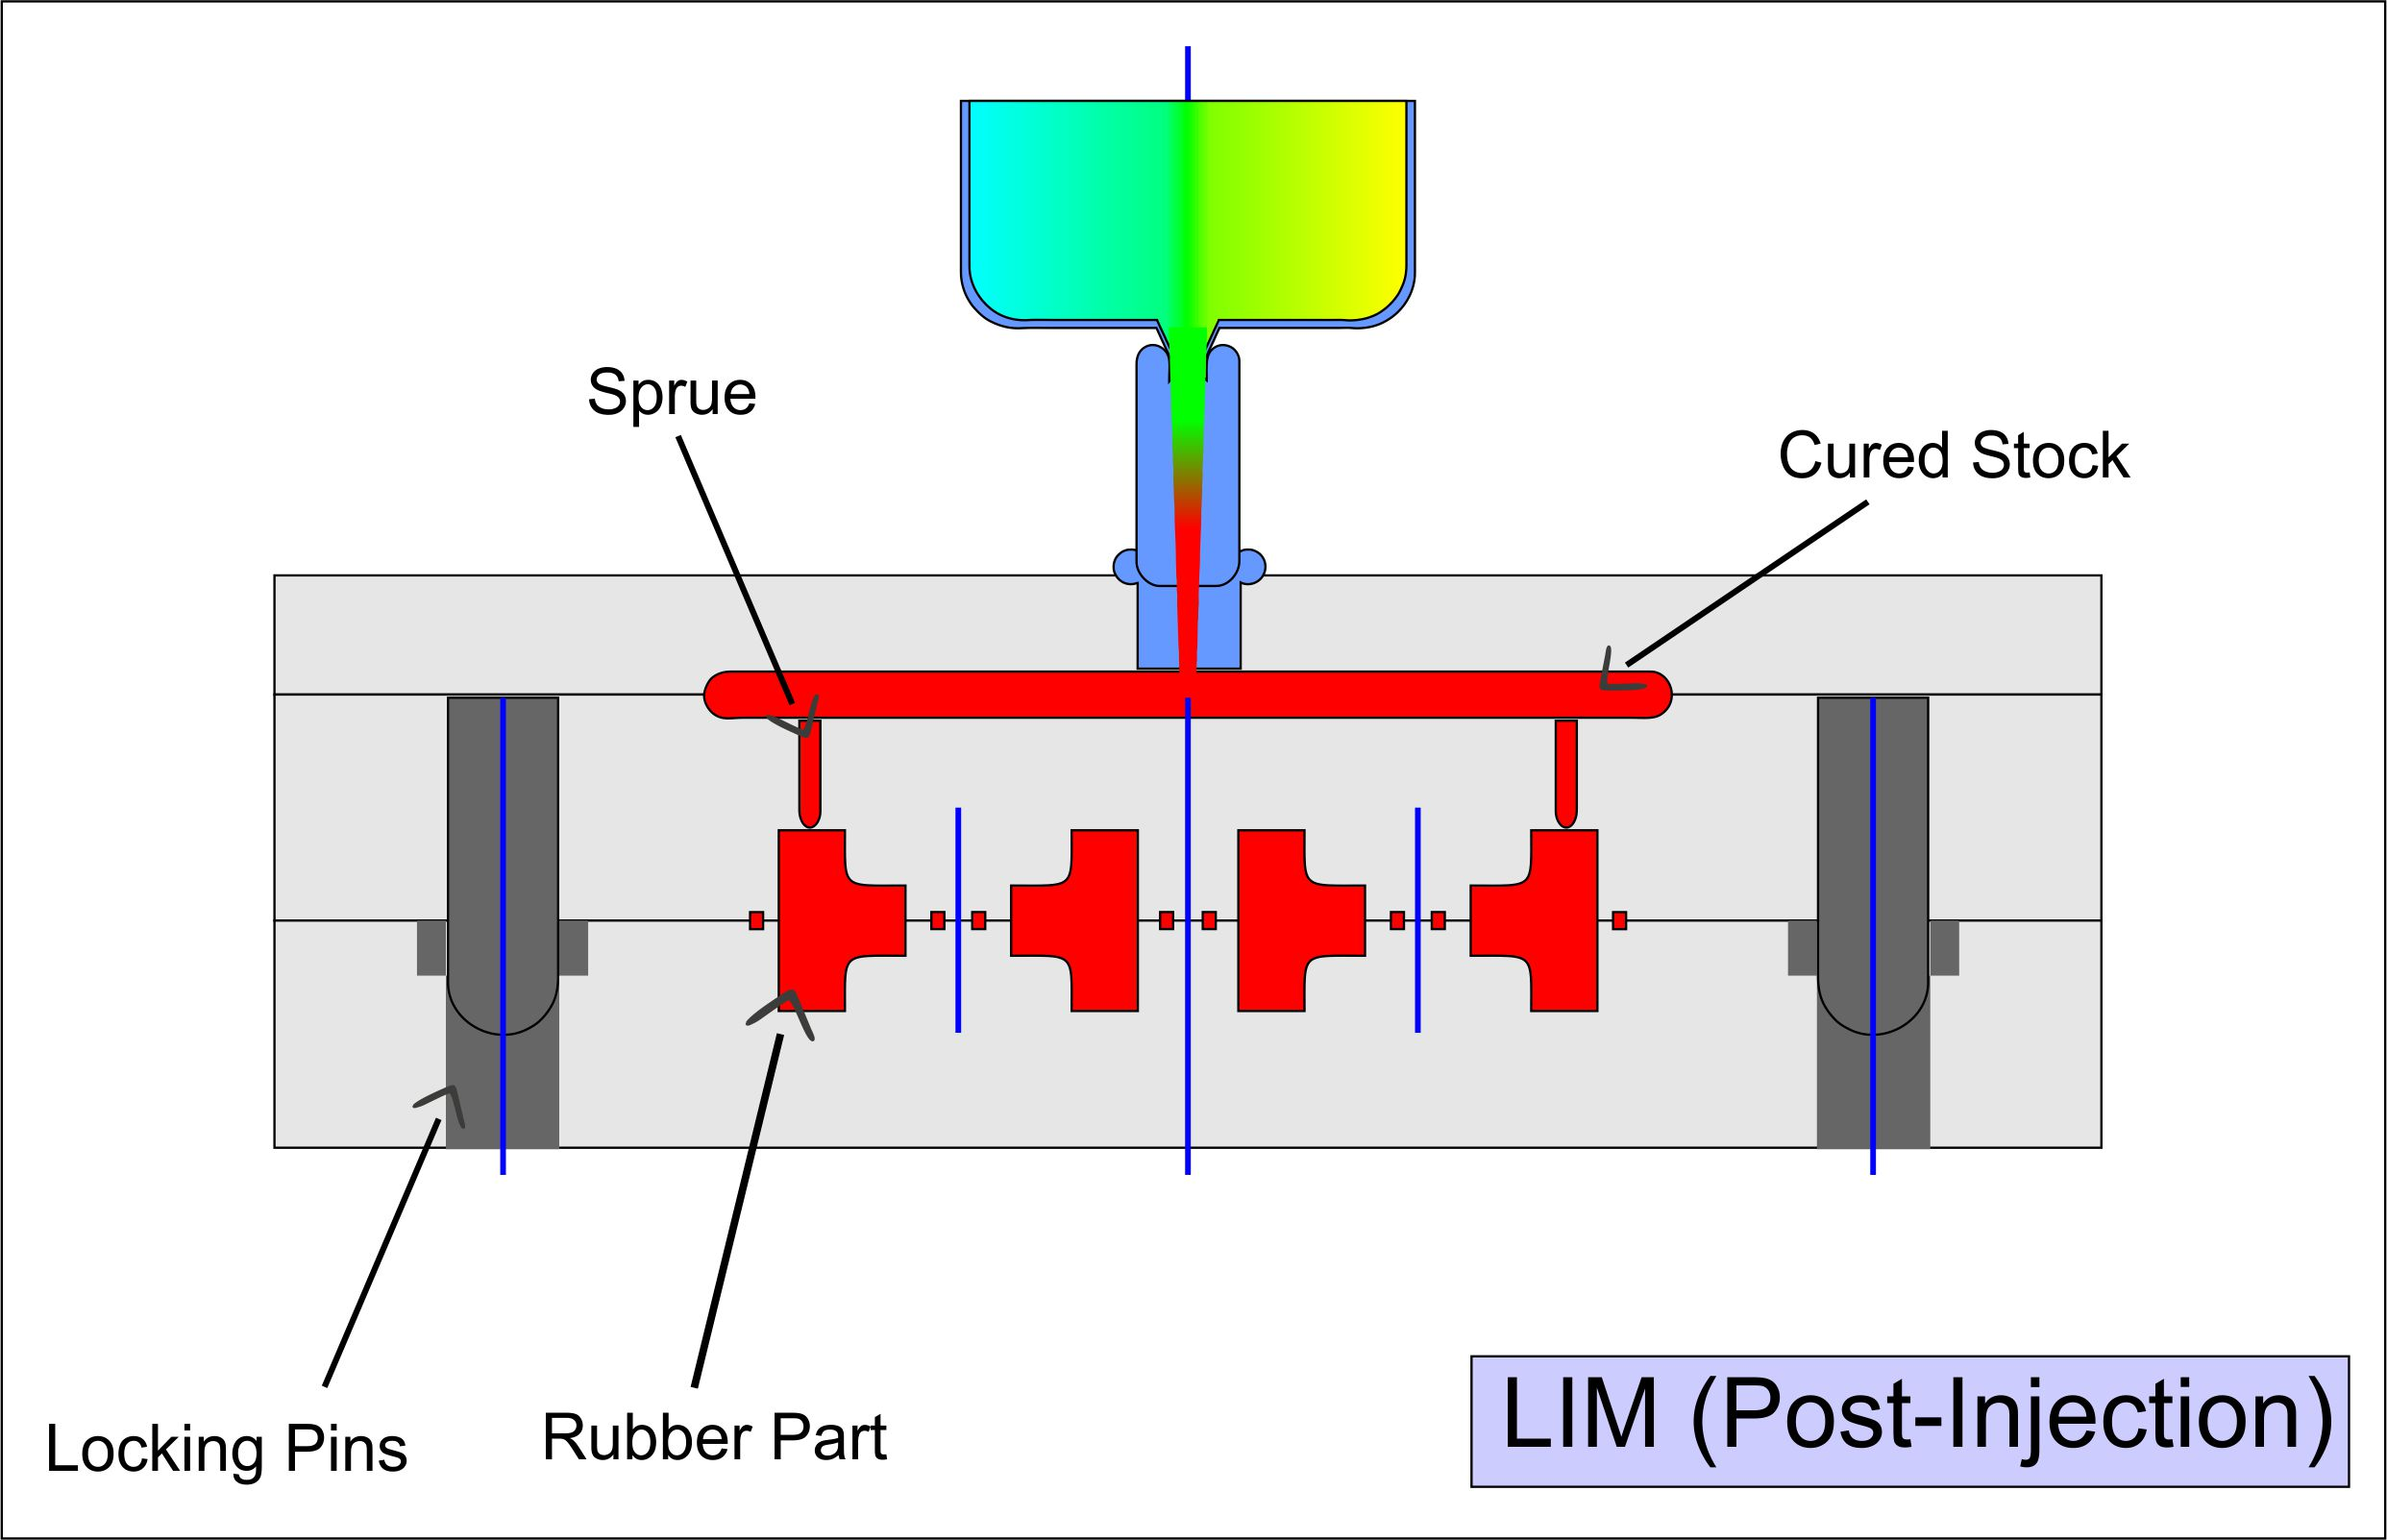
Step 4: Injecting the liquid rubber into the mold cavities and applying heat.
Step 5: Curing the liquid rubber inside the mold for a short period.
Step 6: Unlatching the mold and ejecting the finished rubber part.
Step 7: Removing excess attached material from the final part, including sprue channels and tear trim beads.
Step 8: Post-processing of the finished rubber product, including cleaning and de-flashing.
Advantages
The liquid injection process is the same as regular rubber injection molding, so it also maintains all of the advantages of injection molding. A bonus in LIM comes from its use of liquid silicone molded rubber products as the stock material.
Following are some advantages of using liquid silicone rubber.
- It has a high operating temperature and can withstand temperatures up to 350°F.
- Silicone rubber products remain flexible at shallow temperatures (~58°F).
- It is resistant to UV light, chemicals, aging, and weathering.
Key Design Considerations for Rubber Molding
Rubber molded products are easy to manufacture on a large scale. Because molding rubber is simple yet flexible, making customizations an effortless endeavor.
However, specific design considerations must be considered before molding rubber.
Here are some critical rubber molding factors you need to examine carefully.
Design and Geometry
The design phase is the most crucial step in the rubber molding process. Any oversight or error left unchecked will eventually result in significant flaws in the final high-performance rubber products. Pay close attention to the following design steps.
- If possible, try to make your design symmetrical. Symmetrical molds are easy to machine and result in trouble-free ejection from the mold.
- Avoid sharp corners in your geometry. Sharp corners in molds can result in an uneven and poor fill. Additionally, you can damage these corners during the demolding process.
- Deep undercuts, overhangs, and complex geometry designs should also be avoided. They can result in an inconsistent fill or become troublesome during demolding.
- Holes in the designed parts should be given extra attention. Metal inserts in the mold are a good option for clean and precise holes. Generally, your design holes should have a minimum diameter of 0.5 inches or 1.27 mm.
Sprue and Overflow
Sprue is a small channel for molten rubber flow. Consider an appropriate position and diameter for the sprues. Poorly placed sprues result in uneven mold fill, while small diameters result in sprues getting clogged.
Overflow grooves absorb excess molten rubber and ensure complete filling of the mold. If your overflow grooves are too small, the excess rubber could leak through the mold and result in flashing.
Part Functionality
Rubber parts are deployed in several industries, and their applications can vary significantly. Part functionality needs additional design considerations to be effective.
- For sealing applications, you need to check your part compression factor.
- For fluid applications, wall thickness and inner wall smoothness are critical.
- For parts under stress, you need to add reinforcements like ribs on the product surface.
Material Selection
Your choice of rubber material can significantly increase or decrease the lifespan of your products. Consider the following material properties when selecting a raw rubber stock.
- Material Hardness: The standard material Shore hardness for most rubber products is between 50-80 Shore A.
- Material Elasticity: Higher elasticity results in better stretch and tear resistance.
- Compression Factor: A good compression factor is a necessity for gaskets and seals. Material options for rubber-molded products are discussed in more detail below.
Operation Environment
Molded rubber parts are often deployed in harsh and corrosive environments. Before selecting a rubber material, you must consider your operating environment.
You can also overcome some of the negative effects of a harsh environment by overcoating or using enclosures.
Environment Temperature
Look at your application’s maximum and minimum operating temperatures and adjust your enclosure design and material choice accordingly.
Chemical Corrosion
Industrial environments are particularly harsh, having remnants of corrosive elements lying around.
Ozone Cracking
Ozone cracking occurs when specific elastomers are exposed to ozone (O3) gas.
Part Aesthetics
The surface finish of some rubber products is not essential, as these parts are often found on the inside of large machines away of sight. But for external use, part surface, finish, and part aesthetics are key factors.
Sprue Makings
The contact point between the sprue channel and the mold cavity surface will have small markings even after trimming.
Drafting Lines
The plane where the mold’s two halves (plates) come together will have a thin protruding line of material.
Ejection Pin Marks
Ejection pins are often used to get rubber products out of their mold. These pins will leave small indentations on the product surface.
Design Considerations for Different Types of Rubber Molding Processes
All rubber molding processes are similar. As such, all design considerations discussed above apply to compression, injection, and transfer molding.
However, there are some process-specific factors that you need to take into account.
- Rubber Compression Molding
Compression molding uses un-cured pre-forms to increase process efficiency. Most design considerations are related to these pre-forms.
- Design Complexity
Use simplified geometric designs since the pre-forms need to be pre-cut to shape. The more complex a design is, the more effort it will take to cut pre-forms. Compression molding is a great option for multiple cavity designs as long as the cavities are non-complex.
- Material Hardness
Unlike injection process molding, compression molding uses pressure on pre-forms to force them into the mold cavities. Harder uncured rubber requires significantly higher pressure to shape. Hence, this process is generally limited to hard materials.
- Product Size
Rubber molded parts via compression molding are ideal for medium to large sizes. Smaller rubber molded components tend to favor other molding processes.
- Tolerances
Compression molding has the lowest dimensional accuracy out of the three molding processes.
- Cost
Compression molding requires operators to shape and place pre-forms in the mold manually. This increases the time and financial cost of the process. Ideally, it would be best if you used compression molding for small production runs.
Rubber Transfer Molding
Transfer molding is quite similar to compression molding, but the process consideration of the two methods differs significantly.
Design and Geometry
Transfer molding uses simpler pre-forms than compression molding, and each pre-form is expected to fill hundreds of mold cavities. You can achieve higher cavity counts per production cycle compared to compression molding. Designs with lower cavity counts are better suited to other molding processes.
Tolerances
Transfer molding offers higher tolerances than compression molding. However, for even greater precision, injection molding is recommended.
Material Waste
Transfer molding generates the highest material waste among all molding processes. The transfer pot often leaves residual material (flash pad) after each cycle.
Cost
Transfer molding is most cost-effective for low-volume production, similar to compression molding.
Rubber Injection Molding (and LIM)
Injection-molded rubber components achieve the highest precision and dimensional accuracy. LIM and standard injection molding share identical design considerations.
Geometry Designs
Injection molding enables complex geometries due to high-pressure injection of molten rubber into mold cavities.
Mold Design
Molds must be robust enough to withstand high pressure from the injection process.
Material Choice
Injection molding supports a wide range of materials, including liquid silicone rubber (LSR), which is exclusive to this method.
Waste Material
Injection molding produces the least material waste, optimizing efficiency and reducing costs.
Cost
While tooling costs are high, injection molding becomes the most cost-effective per part for large-volume production runs due to its precision and minimal waste.
Materials Used in Rubber Molding Operations
Rubber is a type of elastomer containing long chains of molecules. Other than natural rubber, all elastomers are synthetic compounds. Molding rubber uses both natural and synthetic compounds for its operations.
Each type of rubber material offers different properties suited to different applications.
The following are a few examples of materials compatible with rubber molding.
Natural Rubber
Natural rubber is organic latex harvested from the rubber tree. It has excellent mechanical properties but poor environmental resistance. Since it can be used for almost any elastomer application, it is quite a popular material for molding.
Natural rubber is often used in the automotive industry for gaskets and seals. It is also used for rubber boots, shoe soles, balloons, etc. However, it is not recommended for long-term outdoor applications due to its weak chemical and environmental resistance.

Nitrile or Buna-N (NBR)
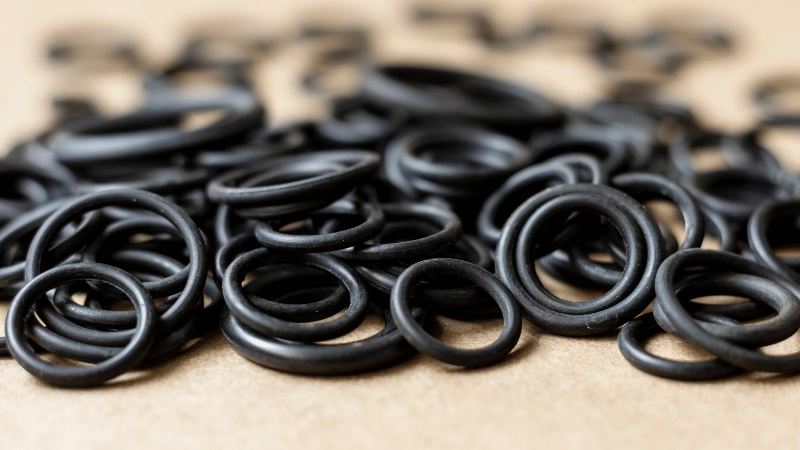
Nitrile is a low-cost synthetic alternative to natural rubber. The material has decent mechanical properties but stands out for its excellent resistance to petroleum oils and fuels.
Nitrile rubber is favored by the automotive, aerospace, and industrial industries for its oil and fuel resistance. Everyday nitrile products include o-rings, oil seals, engine hoses, synthetic leather, and adhesive additives.
Neoprene

Neoprene is a more robust, complex, and durable alternative to natural rubber. It has considerably higher water, ozone, and oil resistance.
Neoprene is used in various industrial and automotive components and sports equipment. Some common neoprene items include scuba diving suits, industrial gaskets, sportswear, and water-tight bags.
Viton
Viton is a trademarked brand name for synthetic rubber made from fluoropolymers. It has fair mechanical properties compared to other synthetic materials, but high resistance to water and heat.
Viton is prominently used in the automotive industry for valves, pumps, seals, gaskets, etc.

Hydrogenated Nitrile Butadiene (HNBR)
Nitrile rubber is modified using selective hydrogenation (addition of hydrogen, H2) to increase heat, ozone, and chemical resistance. Although, HNBR still sustains the same mechanical properties as nitrile rubber.
The improved resistance allows HNBR to dominate the automotive, industrial, pharmaceutical, medical, and food industries. Every day HNBR products include seals, hoses, belts, gloves, and more.
Ethylene Propylene Diene Monomer (EPDM)
EPDM is a variation of EPDM (Ethylene propylene). It is resistant to UV lights, ozone, high temperatures, and weathering. EPDM is also an excellent electrical insulator with good vulcanization options.
EPDM can be used for various outdoor applications. The most prominent use of EPDM can be seen in the roofing industry. Other industries use it for seals, gaskets, o-rings, custom rubber molding, etc.
Fluorosilicone (FVMQ)
Fluorosilicone is a modification of silicone rubber that increases various mechanical properties and chemical resistance.
Fluorosilicone is commonly used for applications deployed in harsh environments. Aerospace and the automotive industry have taken a liking to this material as it is perfect for their operations.
Molded fluorosilicone products include gaskets, seals, hoses, bellows, connectors, etc.
Styrene Butadiene (SBR)
Styrene-butadiene is a general-purpose, low-cost synthetic alternative to natural rubber. SBR has high abrasion and impact resistance while maintaining a decent hardness level.
SBR is often deployed in high-wear applications due to its excellent abrasion resistance and non-toxicity. Common SBR items include car tires, shoe soles, hydraulic brake seals, and industrial equipment.
Fluorocarbon (FKM)
FKM is a group of elastomers based on fluorocarbons. FKM elastomers have good hardness and even better environmental and chemical resistance.
FKM is a less commonly used item in general industries. It is mostly limited to the aerospace, petrochemical, and automotive sectors. Common FKM products include seals, gaskets, o-rings, hoses, etc.
Butyl or Isobutylene Isoprene (IIR)
Butyl of IIR rubber is a blend of isoprene (natural) rubber. It has good flexibility, decent aging, ozone, and weather resistance.
Some common IIR products are electrical insulation, inner tubes for tires, adhesives, and sealants.
Urethane
Urethane is an organic elastomer with excellent tensile strength and environmental resistance. Urethane is often used as a sealing agent and protective layer. It can also be rubber molded into seals, grommets, and general-use parts.
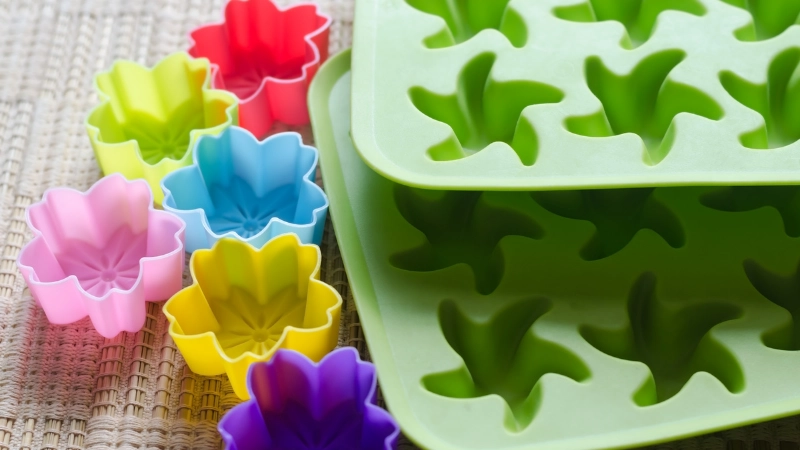
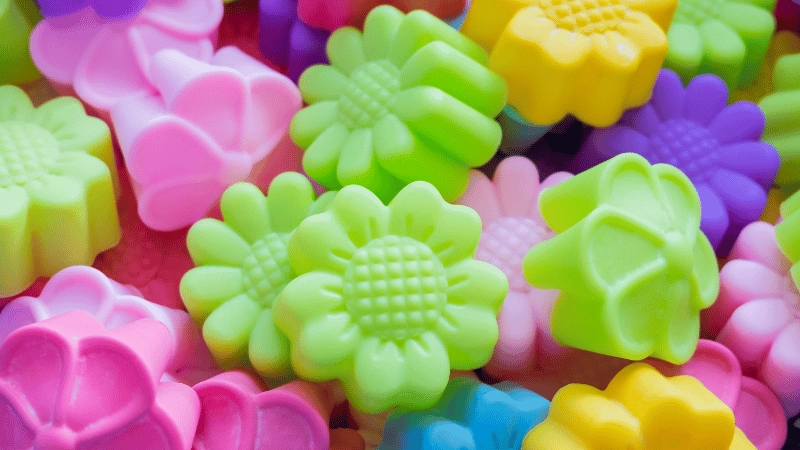
Silicone Rubber

Silicone is an extremely tough but soft synthetic rubber. It has excellent weather resistance, including UV and ozone protection. Silicone rubber has a few variations that add to its mechanical properties and chemical resistance.
Silicone is an excellent material for seals and gaskets due to its good compression factor. It is often used in human-machine interface devices, like silicone keypads, due to its soft touch feel.
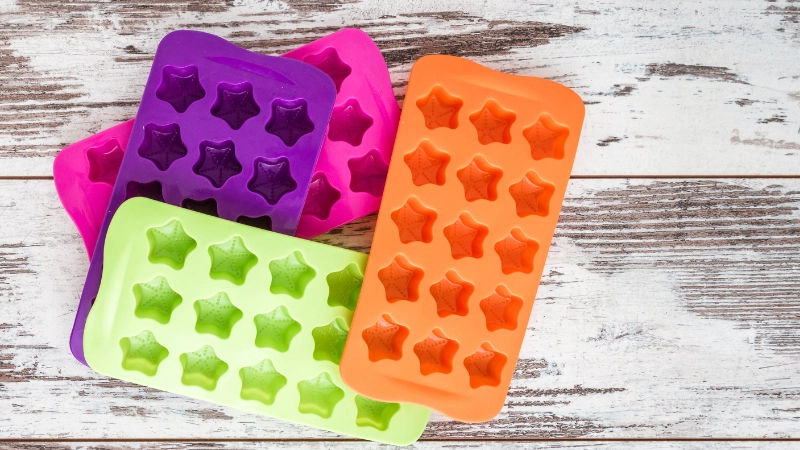
Molded silicone is also prevalent in the food industry as it is one of the few food-safe synthetic rubber (latex) materials.
Foam Rubber
Foam rubber is a porous sponge-like material made from either synthetic or natural latex. The latex is whipped with a few stabilizing compounds to introduce air bubbles. The addition of air bubbles causes a decrease in weight but an increase in volume.
Foam rubber has poor mechanical properties and chemical resistance. It has good thermal resistance due to the presence of air bubbles. Foam rubber is often used as an insulating wrap for cold products, like AC piping.
Additionally, you can find foam rubber in cushions and packaging materials.
Foam Rubber is a form factor and not material. It can be made using either natural or synthetic rubber compounds. Thus, foam rubber properties are subject to change based on material choice.
Things to Consider Before Choosing a Rubber Molding Company
Rubber molding is a flexible and versatile manufacturing process best suited to custom-designed parts. Even a process change can significantly impact product quality and precision.
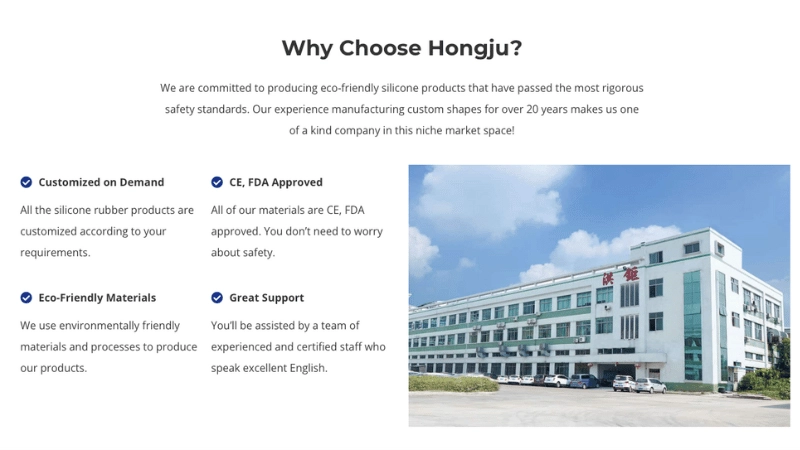
When choosing a custom rubber molding company, choose a manufacturer that offers a complete range of molding solutions, such as Hongju Silicone. If a company only provides compression molding services, it will severely limit your design options.
Similarly, any good rubber molding company should offer several material options, from natural rubber to synthetic solutions. Not all materials are created equally, and the manufacturer should not limit your choice of rubber.
Conclusion
Rubber molding transforms raw elastomers into precision components for automotive, medical, and industrial applications. Using methods like injection, compression, or transfer molding, it produces durable, chemically-resistant parts with complex designs.
Choose a reliable manufacturer that ensures quality and cost-effectiveness for custom rubber products.
Get High-quality Custom Molded Rubber Parts from Hongju
Hongju is a leading manufacturer and supplier of custom-molded rubber products in China. Our most popular services are compression molding and liquid silicone injection molding. At Hongju, we offer custom rubber molding and rapid prototyping services within 3-5 work days.