Plastic overmolding is transforming the way prototypes are designed, tested, and refined. By combining multiple materials into a single part, it improves durability, ergonomics, and functionality.
Yet prototyping overmolded components comes with challenges, from material bonding to precise mold design.
This guide explores why overmolding matters, common prototyping obstacles, and modern solutions to help you create stronger, more efficient product designs.
What is Plastic Overmolding?
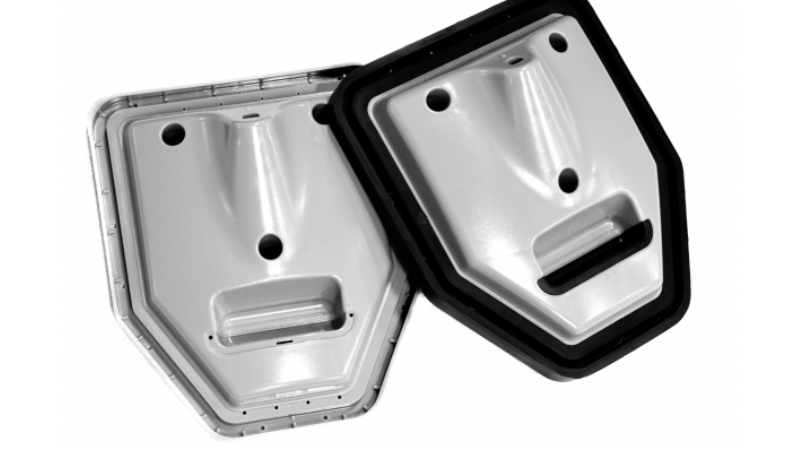
Simply put, plastic overmolding is a process where two or more materials are combined to create a single part. This is achieved by injecting molten plastic onto an existing molded part, creating a seamless bond between the two materials.
The result is a strong and durable component with both structural and aesthetic benefits.
In this process, the first material, the substrate, is typically a rigid plastic or metal. The second material is usually a thermoplastic elastomer (TPE) or silicone rubber.
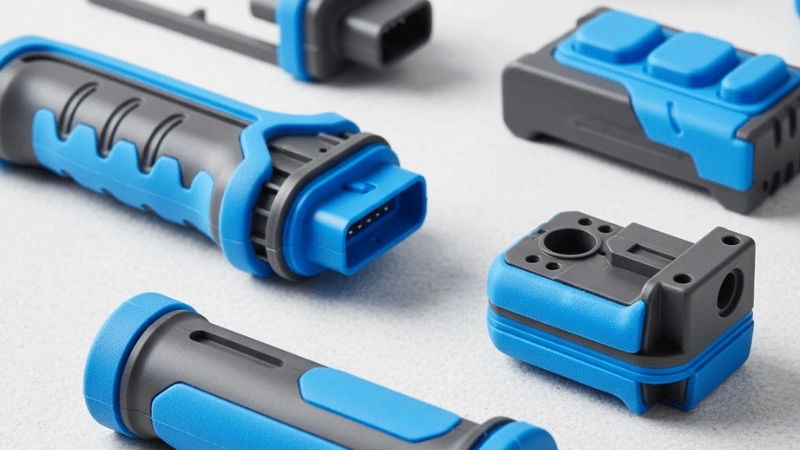
The substrate provides strength and rigidity, while the over-molded material provides flexibility and aesthetic appeal. This combination allows for a wide range of design possibilities and functional benefits.
Why Use Plastic Overmolding in Prototyping?
The advantages of plastic overmolding in prototyping are numerous. Here are a few key reasons why this technique is worth considering for your next project:
1. Cost-effective
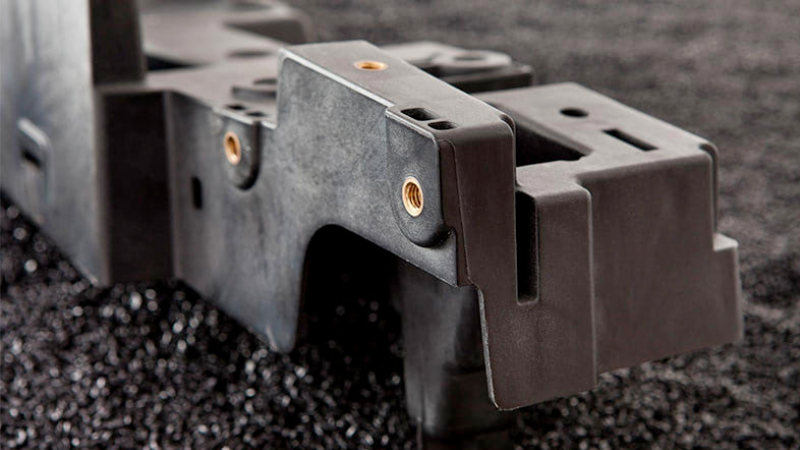
One of the biggest benefits of plastic overmolding is its cost-effectiveness. Overmolding can significantly reduce production costs compared to traditional methods like CNC machining.
Overmolding streamlines production and reduces material waste by eliminating the need for multiple parts and assembly processes. This is especially beneficial for small-batch runs or one-off prototypes.
Additionally, overmolding allows designers to create complex and intricate designs that would otherwise be difficult or expensive to achieve with traditional methods. This opens up more possibilities for innovation and creativity while keeping costs down.
2. Improved Functionality
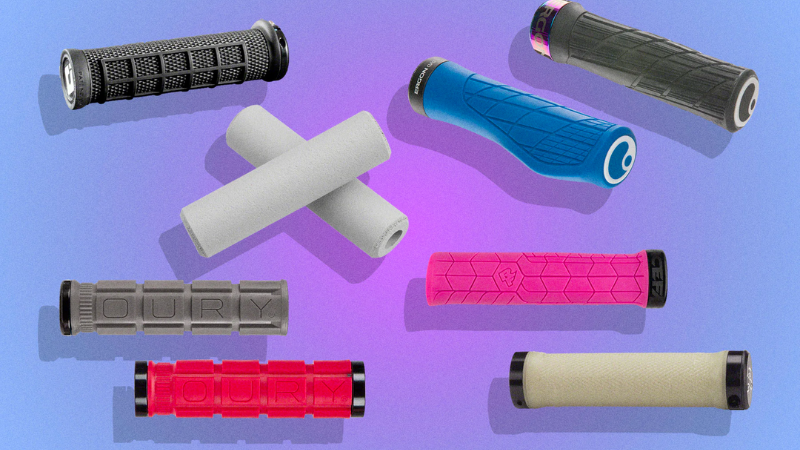
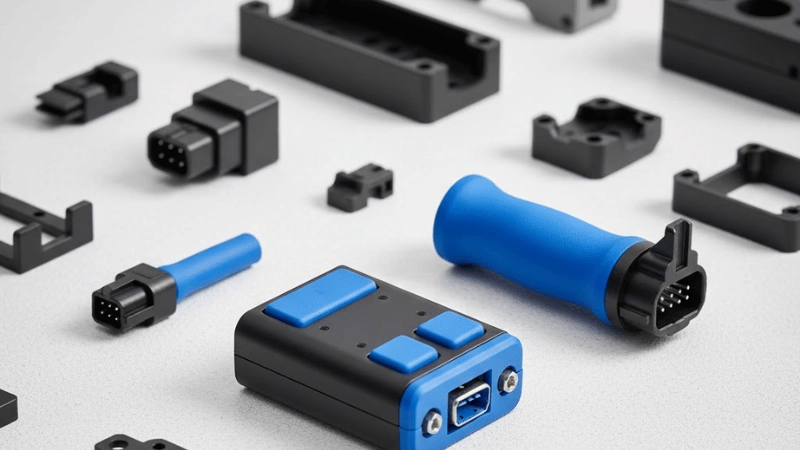
Combining different materials in overmolding can greatly enhance the functionality of a product. Designers can create strong and pliable parts by using a rigid substrate and a flexible, overmolded material.
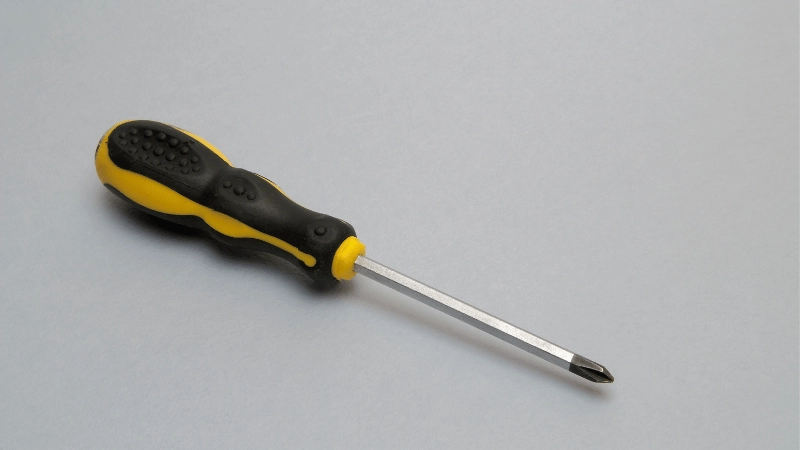
This is especially useful in grips, handles, and seals applications.
Moreover, overmolding can also improve the functionality of electronic components. For example, by adding a rubber material to an electronic housing, designers can create a more secure and shock-resistant product.
This is especially beneficial in industries like aerospace and automotive, where durability and safety are paramount.
3. Enhanced Design Options
Plastic overmolding allows for more design flexibility and customization. With the ability to use different materials and colors, designers can create products with unique aesthetics.
The overmolded plastic material can also be textured, providing a better grip or adding visual interest. This opens up endless possibilities for product design and branding.
Send Your Inquiry Now!
Quality Meets Affordability. Inquire Now for High-Quality Products at Low Volumes.
Prototyping Challenges in Plastic Overmolding
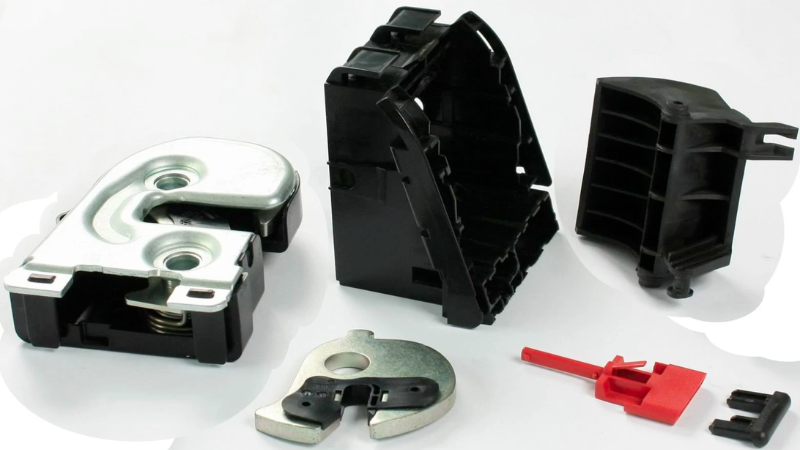
While plastic overmolding offers many benefits, it also presents some unique challenges. Here are a few key considerations to keep in mind when using this technique:
1. Ensuring Material Compatibility and Proper Bonding
The biggest challenge in overmolding is ensuring proper bonding between the two materials. The substrate and overmold material must be compatible and have a strong bond to create a functional part.
This requires careful consideration of material properties, such as melting points and shrinkage rates.
To achieve optimal adhesion, designers must also ensure that the substrate is properly prepped before the overmolding process.
Surface preparation techniques, such as chemical etching or plasma treatment, may be necessary.
2. Addressing Warpage, Shrinkage, and Other Defects
Overmolding can also introduce potential defects in the final product. One common issue is warpage due to uneven cooling rates between the substrate and overmolded materials.
Designers must consider this when designing the mold and selecting plastic materials.
Shrinkage is another challenge in overmolding, as it can affect the fit and accuracy of the final product. Designers may need to adjust for shrinkage rates in their initial designs to achieve desired tolerances.
3. Tool Design and Optimization for Prototyping
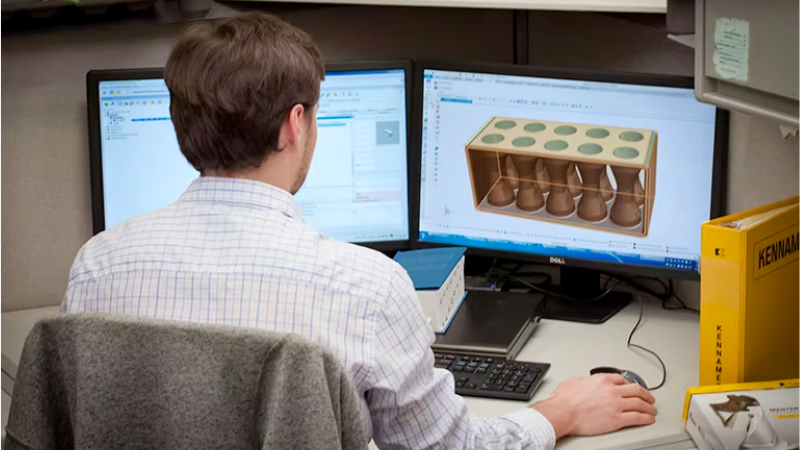
Another consideration is tool design for the plastic overmolding process. The mold must be designed to allow for the substrate and overmolded material to flow evenly and fuse properly.
This requires precision in tool design and optimization for the specific materials used. For Prototyping, this can add time and cost to the process.
Modern Prototyping Solutions
Advancements in technology have made over-molding more feasible and efficient for Prototyping. Here are a few modern solutions that can streamline the process:
1. Rapid Prototyping Using 3D Printing
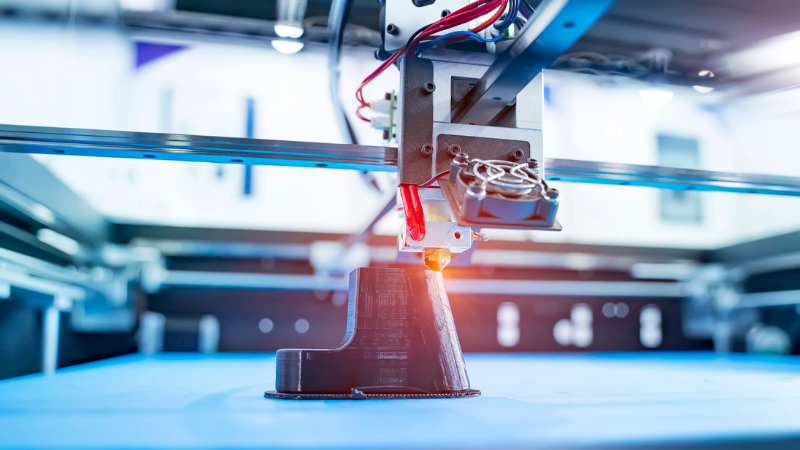
With the rise of 3D Printing, over-molding has become more accessible and cost-effective for prototyping. This is achieved by printing a substrate mold and using plastic injection molding to create the overmolded part.
The designers can make changes to the mold as needed, allowing for quick iterations and design improvements.
However, 3D Printing does have its limitations in mechanically interlocked materials. The material used for the substrate mold must withstand high temperatures and pressures during the injection molding process.
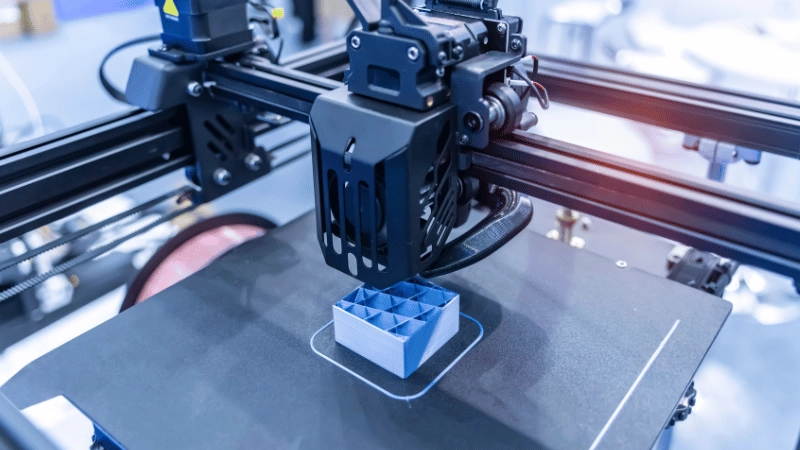
This can limit the material options for prototyping compared to traditional methods.
2. Silicone and Urethane Casting
Another short-run molding technique for prototyping is silicone and urethane casting. In this process, a silicone or urethane mold is created from a 3D-printed or CNC-machined master pattern.
The overmolded parts are poured into the mold to create the final part.
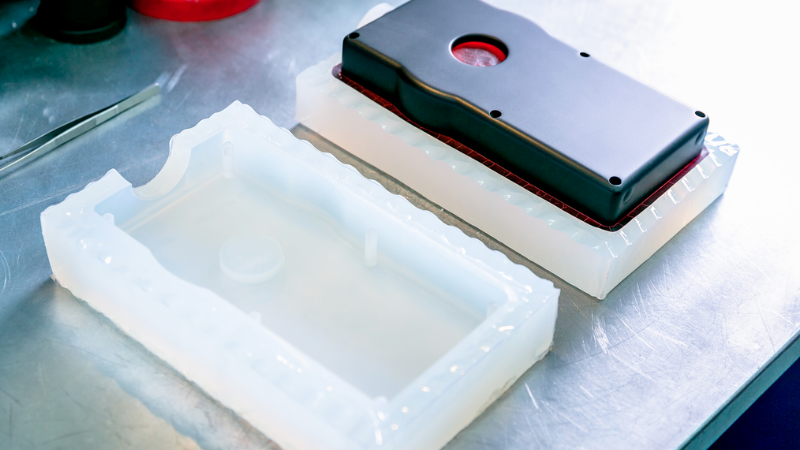
This method allows for more flexibility in material selection and can produce plastic parts with complex geometries.
However, the molds may wear out quickly, making it more suitable for short runs or one-off prototypes.
3. Tooling Solutions: Aluminum vs. Steel Molds for Prototyping
The choice of mold material can also affect the prototyping process.
For low-volume runs, aluminum molds may be a more cost-effective option compared to steel molds. The lightweight properties of aluminum make it easier and faster to machine, reducing lead times for prototype production.
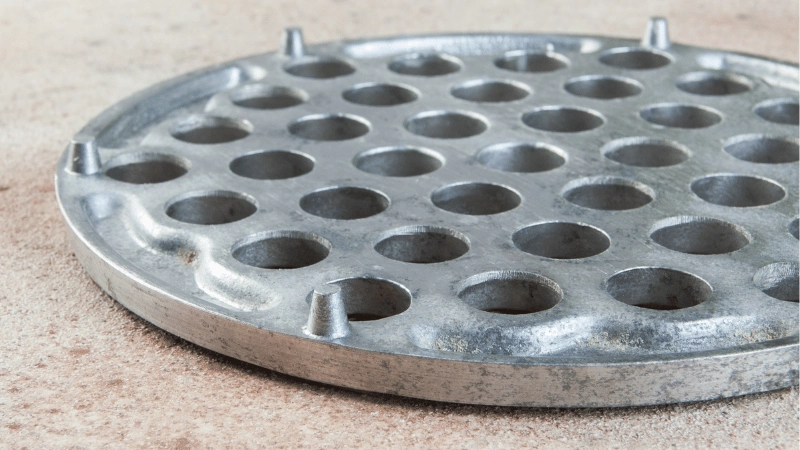
Aluminum molds also have better heat transfer properties, allowing faster cooling and shorter cycle times. Using aluminum molds can also be advantageous for overmolding with thermoplastic materials.
However, aluminum molds may not be suitable for high-volume production as they have lower wear resistance than steel molds.
This can result in a shorter lifespan, potentially leading to additional mold cavity repairs or replacement costs.
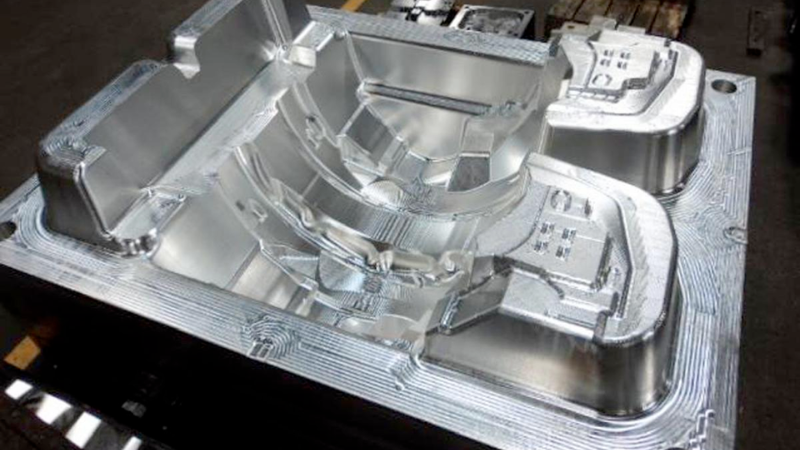
On the other hand, steel molds are more durable and have a longer lifespan, making them the preferred choice for high-volume production. They also have better wear resistance, ensuring consistent quality throughout production.
However, steel molds are more expensive and take longer to manufacture, making them less ideal for prototyping.
Ultimately, the choice of mold material depends on the specific needs and budget of the project.
For rapid prototyping, aluminum molds may be the better option. Investing in steel molds for high-volume production can result in long-term cost savings and improved product quality.
Send Your Inquiry Now!
Quality Meets Affordability. Inquire Now for High-Quality Products at Low Volumes.
Design Considerations for Overmolding Prototypes
Designing for overmolded prototypes requires careful consideration of various factors. Here are a few design considerations to keep in mind:
1. Importance of Parting Lines and Gate Placements
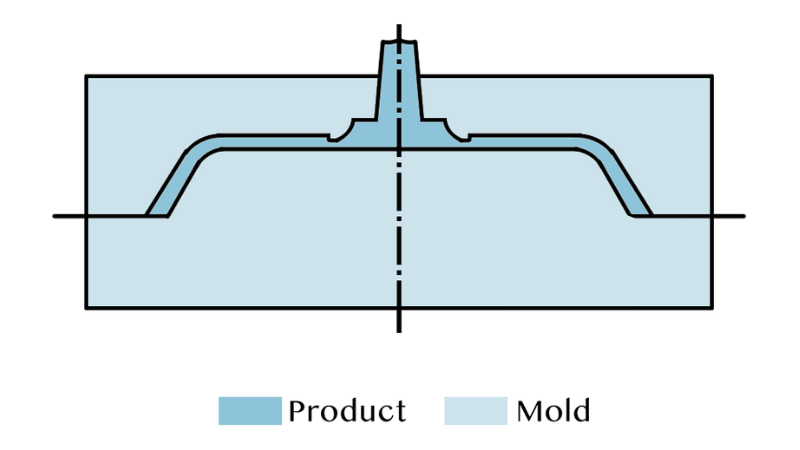
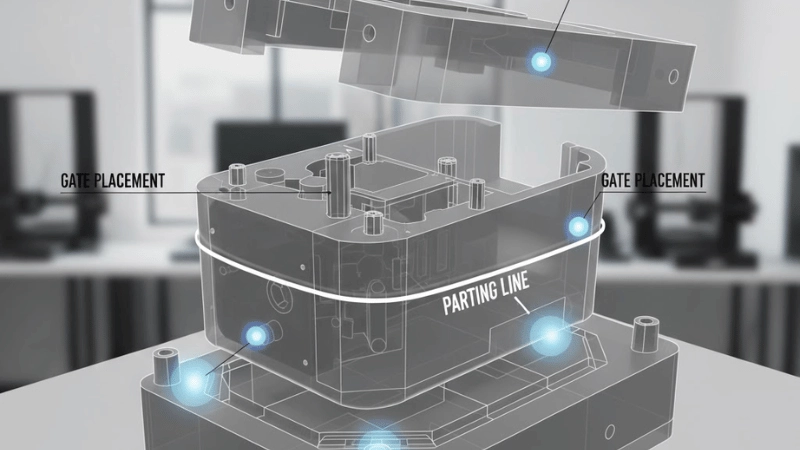
Parting lines refer to the area where the two materials meet, while gate placement is where the molten material enters the mold. These elements are crucial in ensuring proper bonding between both the substrate and overmolded material.
Designers must carefully plan and optimize these elements to avoid defects in the final product.
For example, placing the gate in a critical area can create weak spots or inconsistencies in the final product. Similarly, improper parting lines can result in flash or gaps between materials.
To avoid these issues, designers must consider the initial design‘s parting lines and gate placements.
2. Designing for Bond Strength
The strength of the chemical bond between the rigid plastic substrate and overmolded material is crucial in ensuring the final product’s durability.
Designing features and geometries that promote strong adhesion can enhance the overall performance of the overmolded part.
This may include adding ribs, knurls, or other textured surfaces to increase surface area for bonding.
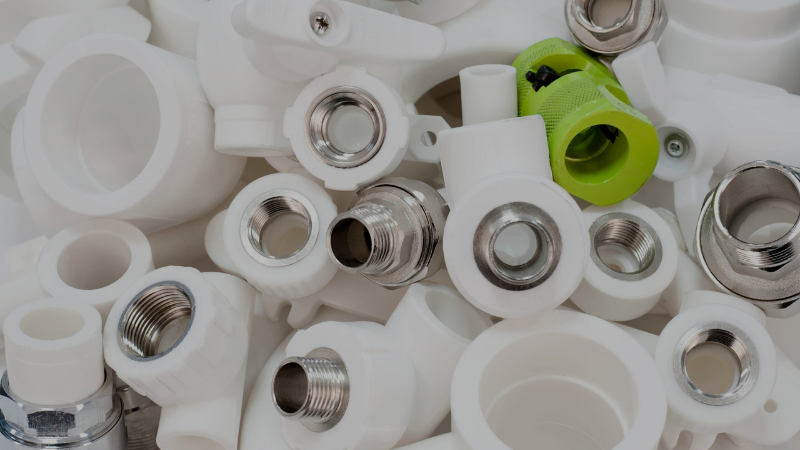
Additionally, incorporating features that allow for proper flow of the overmolded parts also improves bond strength.
This includes designing rounded corners and avoiding sharp angles or undercuts that may trap air bubbles and hinder proper bonding.
3. Aesthetics: Texture, Color, and Finish
Overmolding not only provides functional benefits but also allows for customization and improved aesthetics. Designers can choose different colors, textures, and finishes to enhance the visual appeal of the final product.
This can be particularly beneficial in consumer products where branding and design play a significant role.
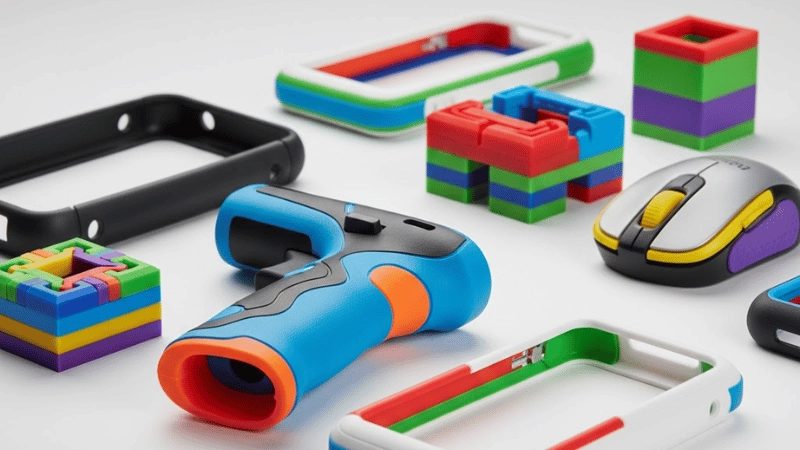
When incorporating overmolding for aesthetic purposes, consider how the two materials will interact and create a cohesive look.
This may involve selecting compatible materials or designing patterns that complement each other.
Testing and Validation for Over-Molded Prototypes
Once the overmolded prototype is produced, it is crucial to conduct testing and validation. This ensures that the product meets all functional and aesthetic requirements. Some key tests to consider include:
1. Bond Strength and Adhesion Tests
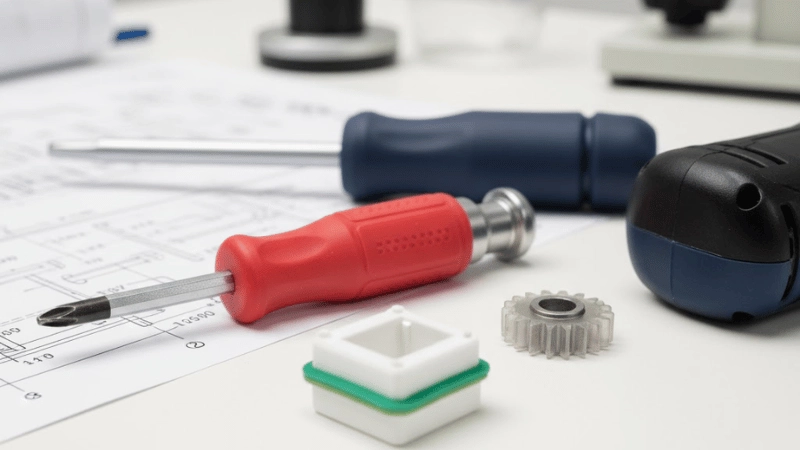
This test measures the bond strength between the two materials. It is essential to ensure the bond can withstand the anticipated loads and stresses in its intended use.
This may involve performing peel tests, lap shear tests, or other relevant methods. Any design flaws or material incompatibilities can be identified and addressed during this stage.
2. Durability and Life Cycle Testing
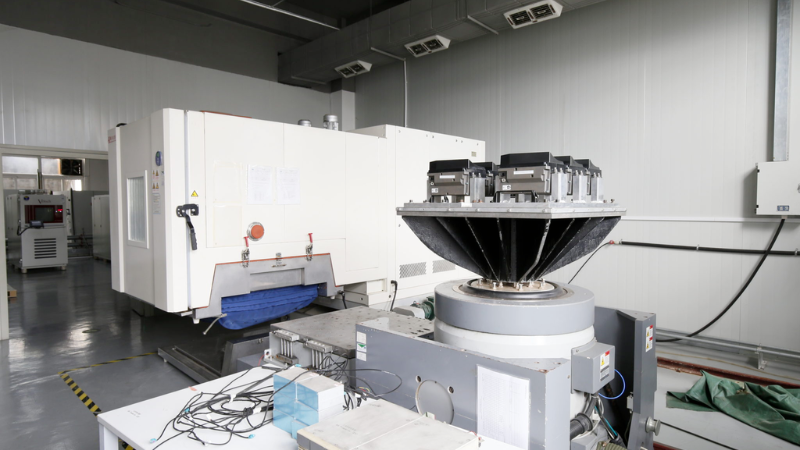
Overmolded parts may be subjected to various environmental conditions during their lifespan. Durability and life cycle testing can simulate these conditions to evaluate the product’s performance.
This includes exposure to heat, moisture, UV rays, and other factors that may affect the material’s properties.
3. Feedback Loops for Design Iteration
Testing and validation also provide an opportunity for design iteration. Any issues or concerns identified during testing can be used to improve future designs.
This continuous feedback loop ensures the final product meets all requirements and is optimized for performance.
Send Your Inquiry Now!
Quality Meets Affordability. Inquire Now for High-Quality Products at Low Volumes.
Conclusion
Plastic overmolding is a versatile, cost-effective prototyping method that enhances both product function and design. With the right materials, thoughtful design, and proper testing, overmolded prototypes deliver reliable, high-quality results.
Modern overmolding solutions help overcome common challenges and support faster product development.
For the best outcome, work with an experienced manufacturer who can guide you in selecting the ideal molding approach for your project’s needs.
Discover the Perfect Solution for Your Business with Hongju!
Hongju Silicone is committed to providing innovative solutions for businesses of all sizes. Our expertise in plastic overmolding allows us to offer tailored solutions that meet your specific needs and budget.
Whether you need rapid Prototyping, short-run molding, or tooling solutions, we’ve got you covered.
Contact us today to learn more about how our services can benefit your business and help bring your ideas to life.
FAQs
1. Why is overmolding useful during the prototyping stage?
Overmolding helps validate ergonomics, durability, material bonding, and design functionality before moving into mass production.
2. Does plastic overmolding reduce overall development costs?
Yes. Early testing allows designers to correct flaws sooner, reducing tooling changes, rework, and wasted materials.
3. Can overmolding prototypes mimic final production quality?
Absolutely. Modern prototyping tools can replicate real-world textures, hardness levels, and material interactions.
4. How fast can overmolded prototypes be produced?
Rapid tooling and low-volume molding technologies allow prototypes to be completed in days, speeding up product development cycles.